Curves and it’s various types like Bezier or Path Curves are extremely versatile in their use
and can help 3D Artists in making non destructive and fast iterations in their 3D Scenes.
They can be extremely useful in cases such as creating Railway Tracks or a Chained Fence,
where you just need to repeat the same reusable block which is our 3D Model
but in a way which is Organic and can also be Non Destructive.
In this Article, we will look at 4 Steps following which you will be able to
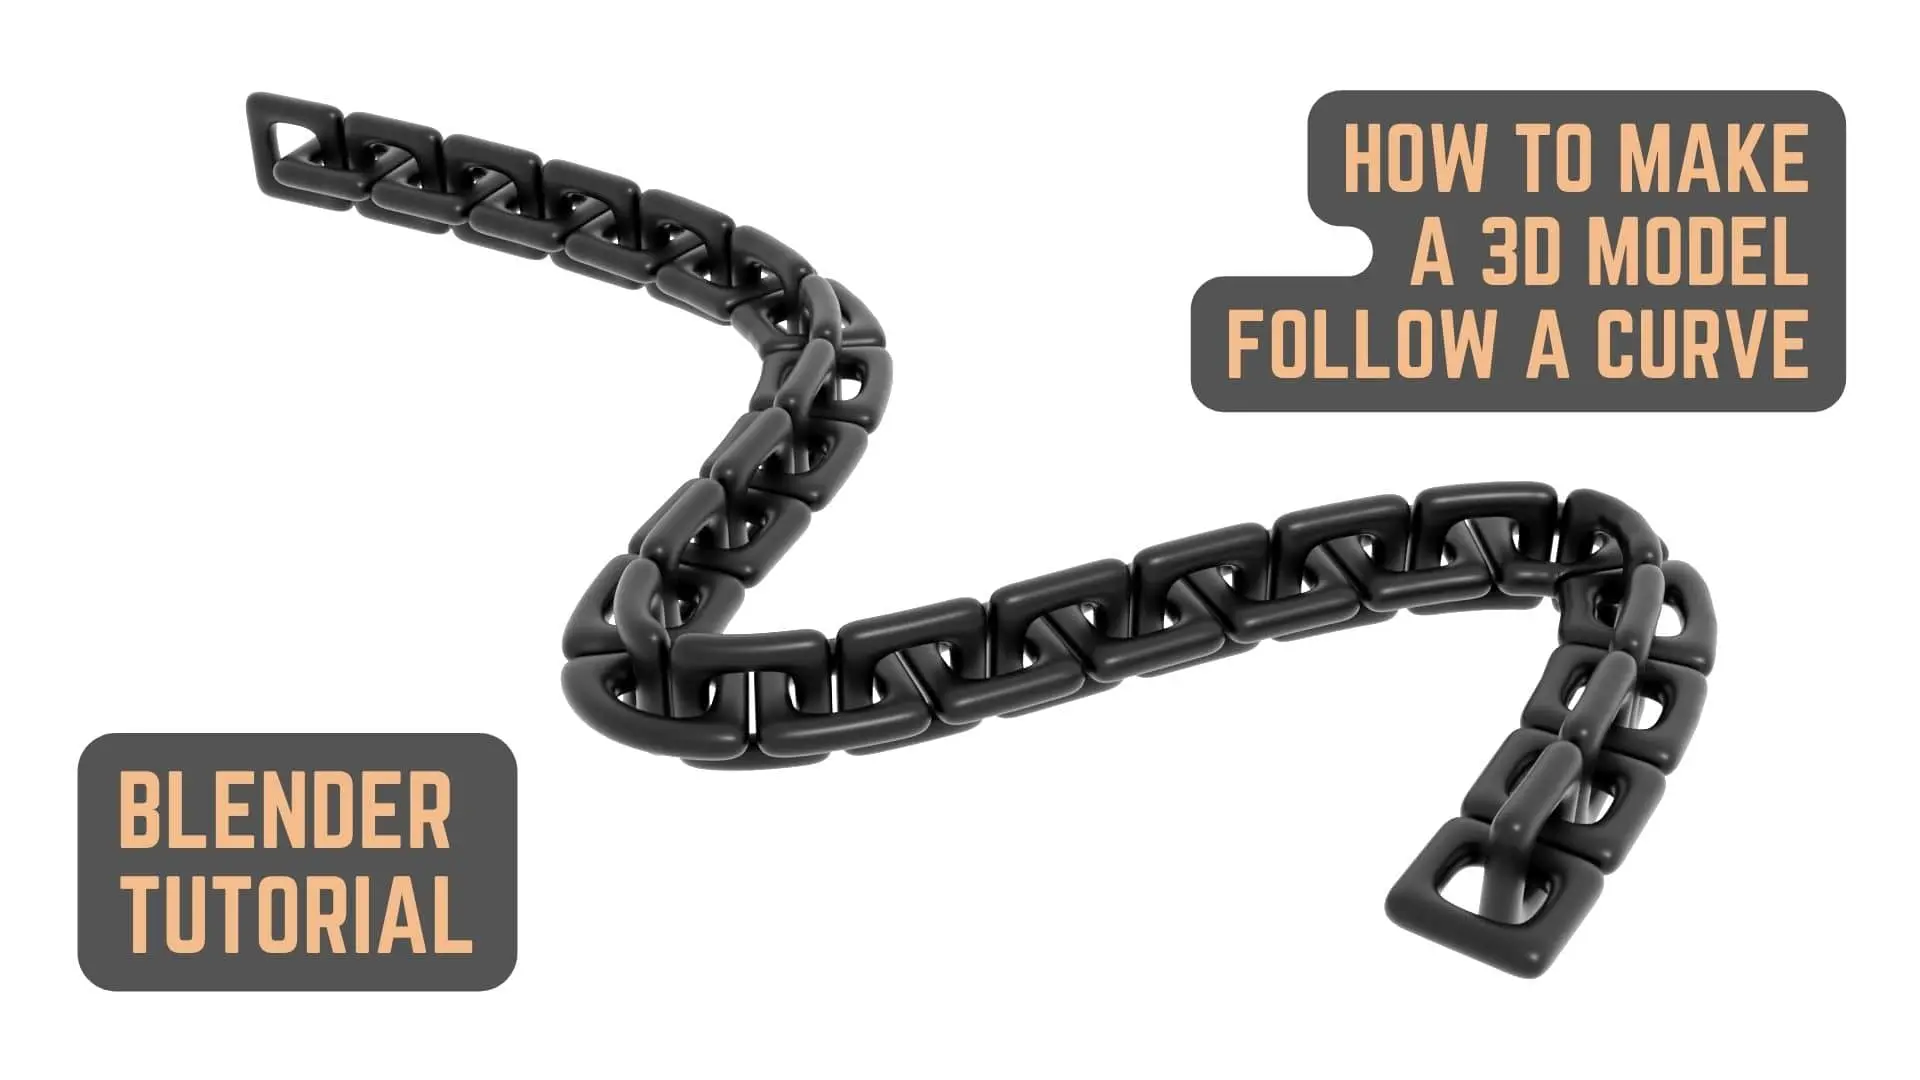
Make a 3D Model or an Array of 3D Models follow a Curve or Path Curve to be precise.
So, without further ado, let’s get started!
Step 1 – Make the 3D Model That You Want To Follow A Curve / Path Curve or Want To Duplicate Along it
Well Duh! Of course you will need to create a 3D Model first.
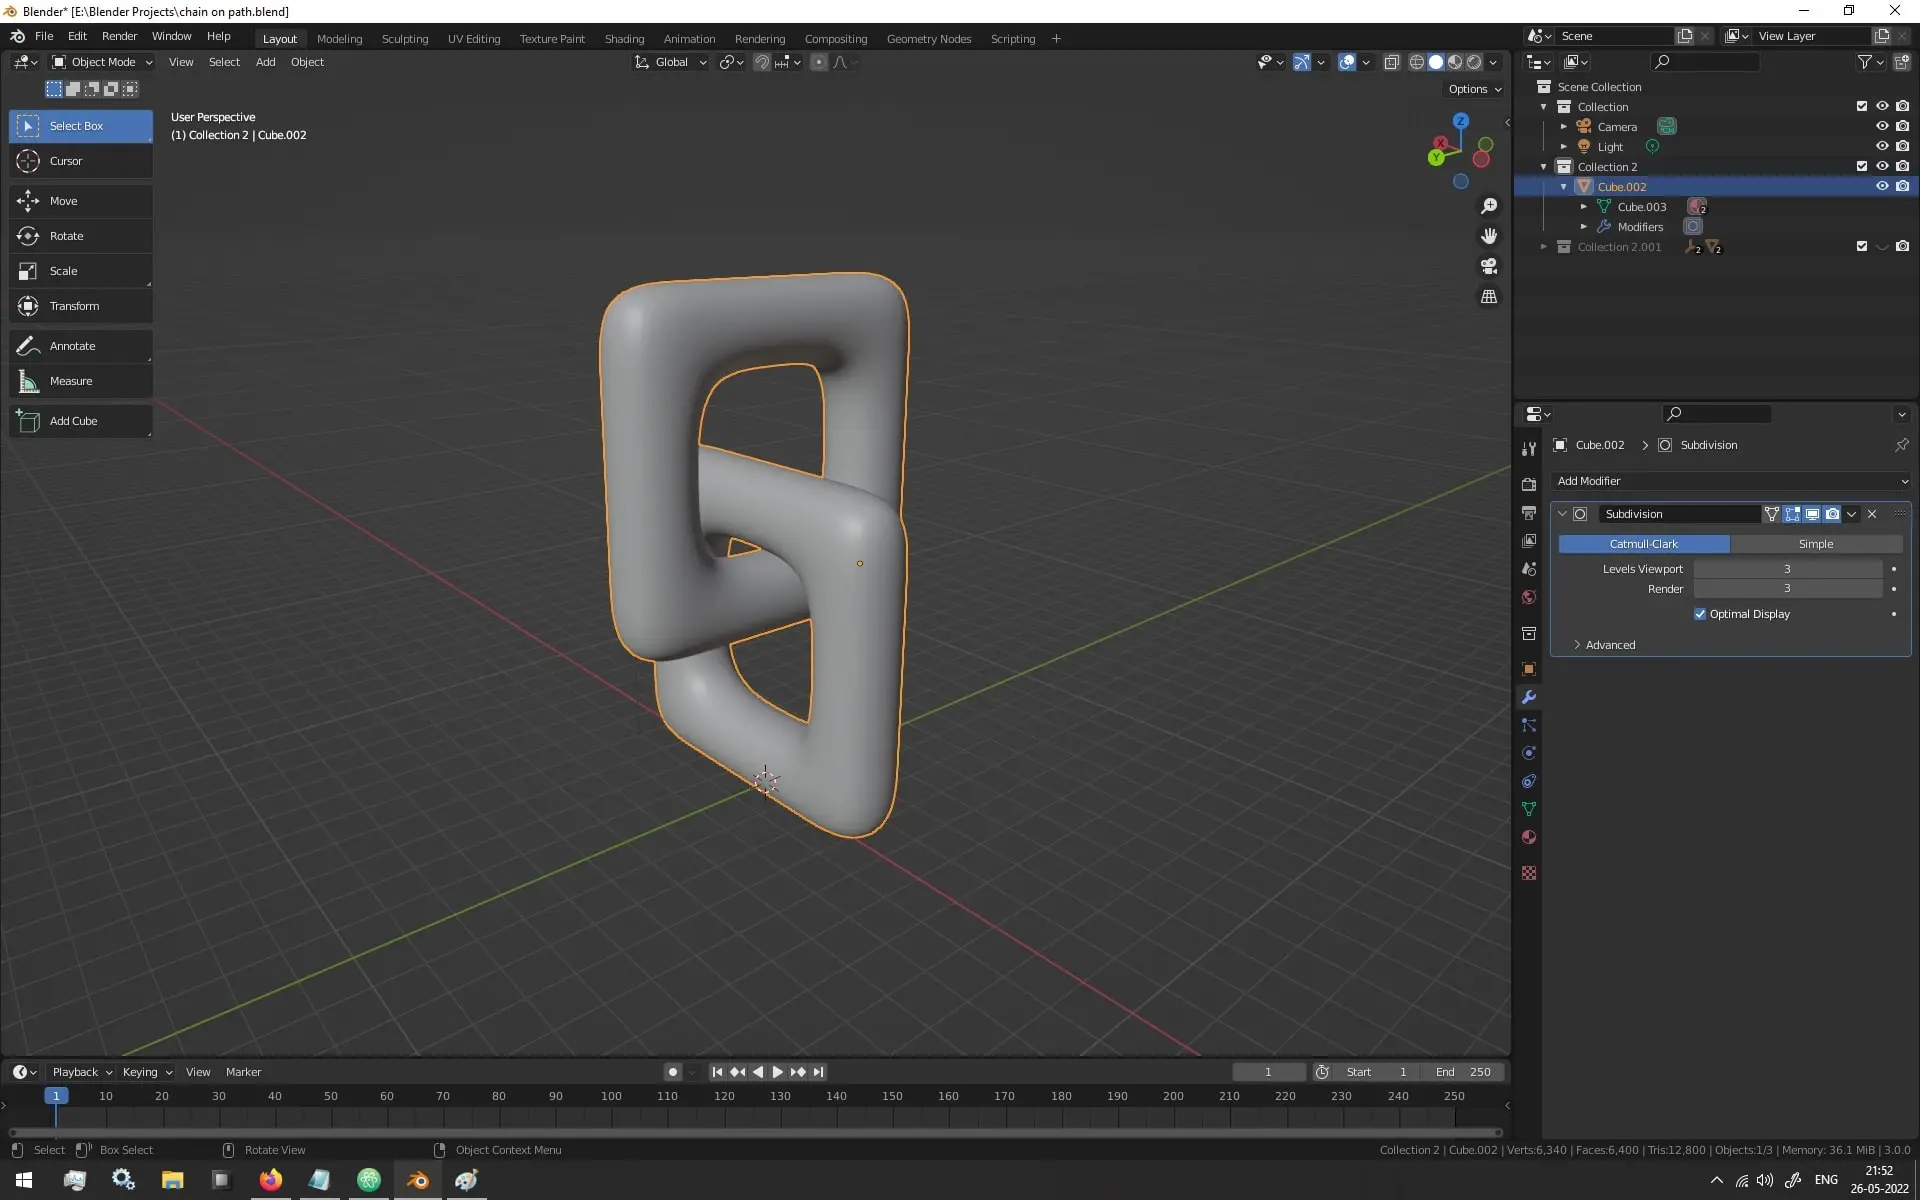
For this article, I’ll be using this simple interlocked chain link like 3D Model
which I basically made by extruding a Default Cube into a C Shape
and then using a Mirror Modifier with an empty axis as center.
I also added Subdivision Surface Modifier at level 3 and Smooth Shaded the 3D Model.
If you get weird Shading Issues like in the image below
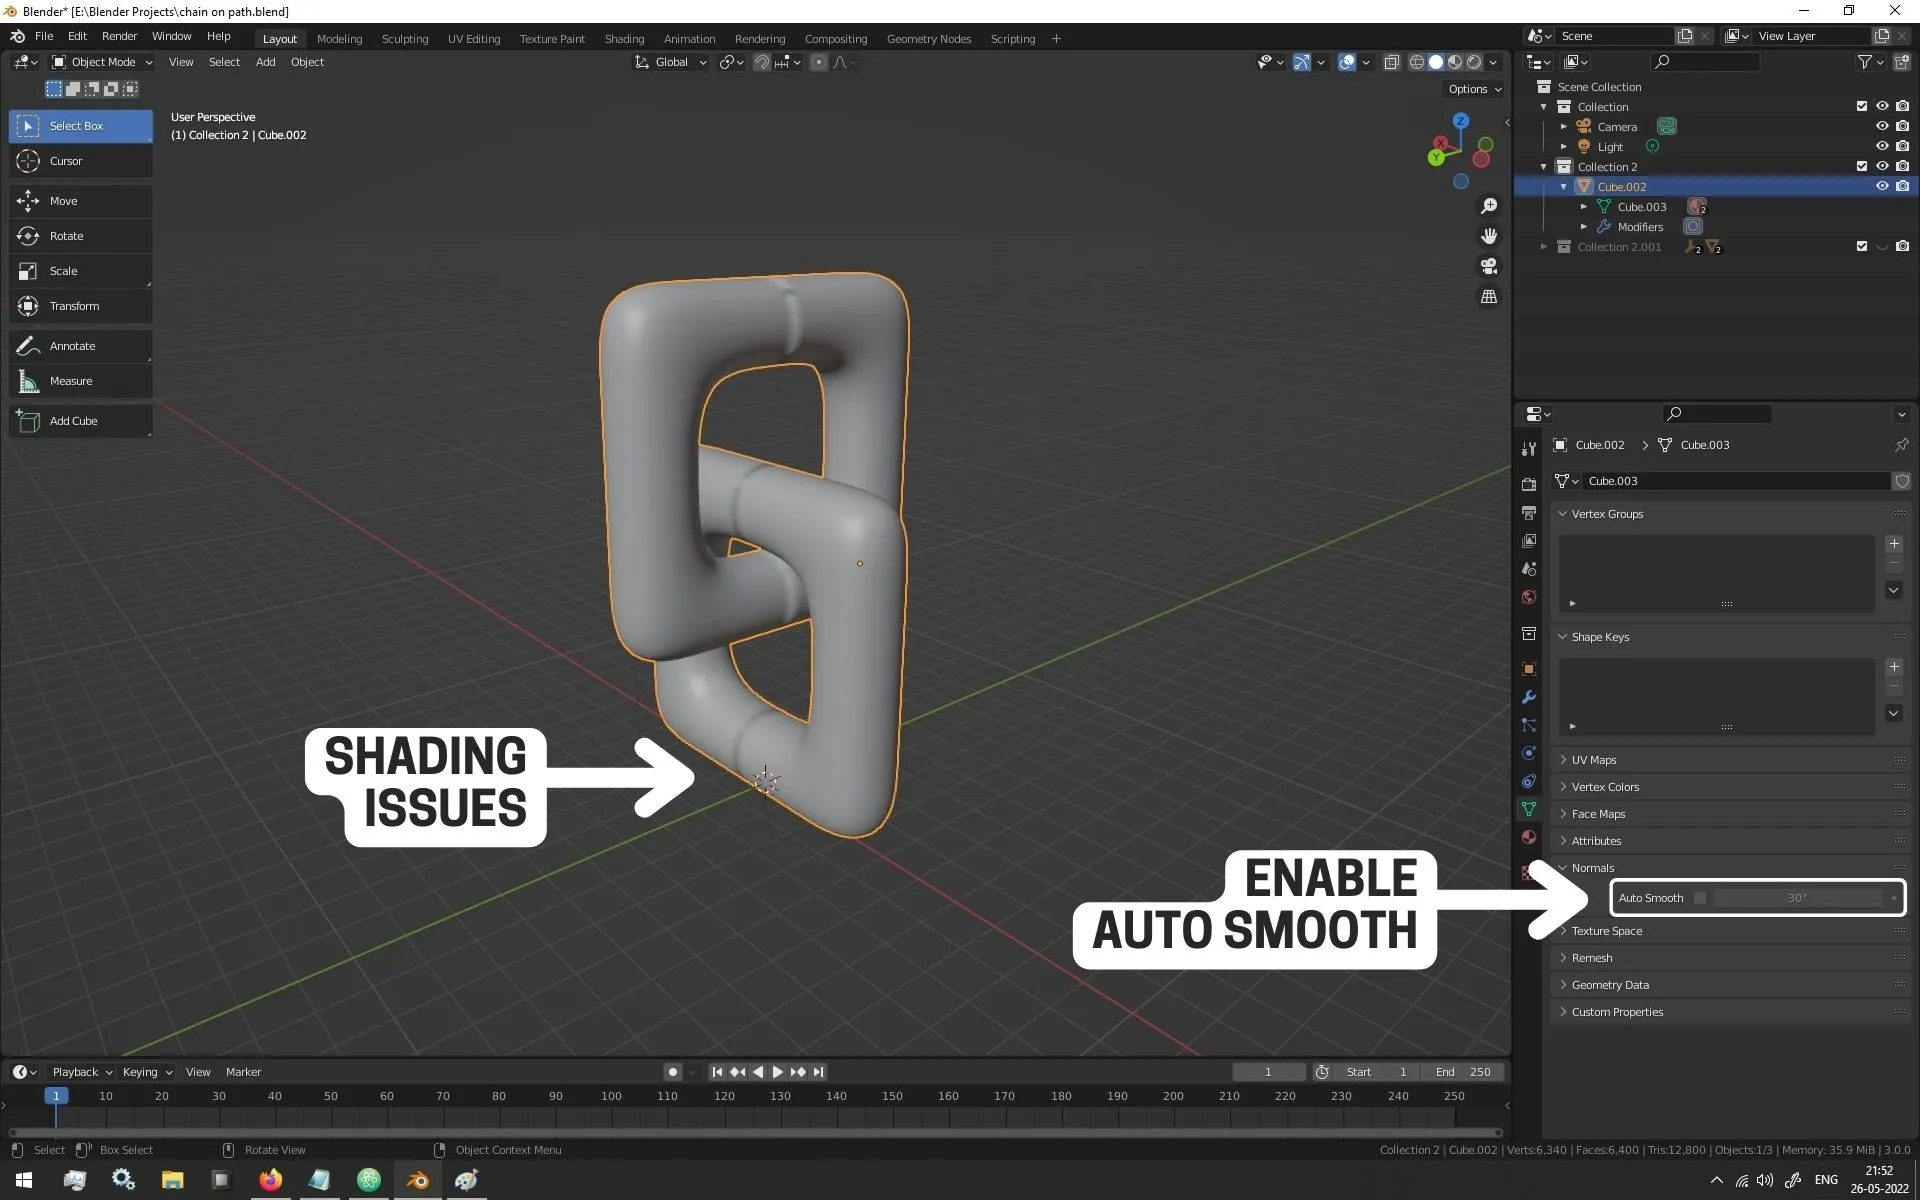
You just need to select the 3D Model having the Shading issue
then go to Properties Panel -> Object Data -> Normals -> Auto Smooth
and Enable Auto Smooth with the default settings.
It is highly likely that just by doing this the shading issue will go away.
Step 2 – Add Array Modifier to 3D Model and Tweak The Settings
With the 3D Model ready, now as we want to create a chain with this 3D Model
we will need to add an Array Modifier to it in the Modifiers Pane / Tab in the Properties Panel.
After that, we will need to modify the settings to increase the Number of Duplicate 3D Models
and also change the Offset in the appropriate X, Y or Z Axis
so that it looks like the Duplicates 3D Models are interlocked.
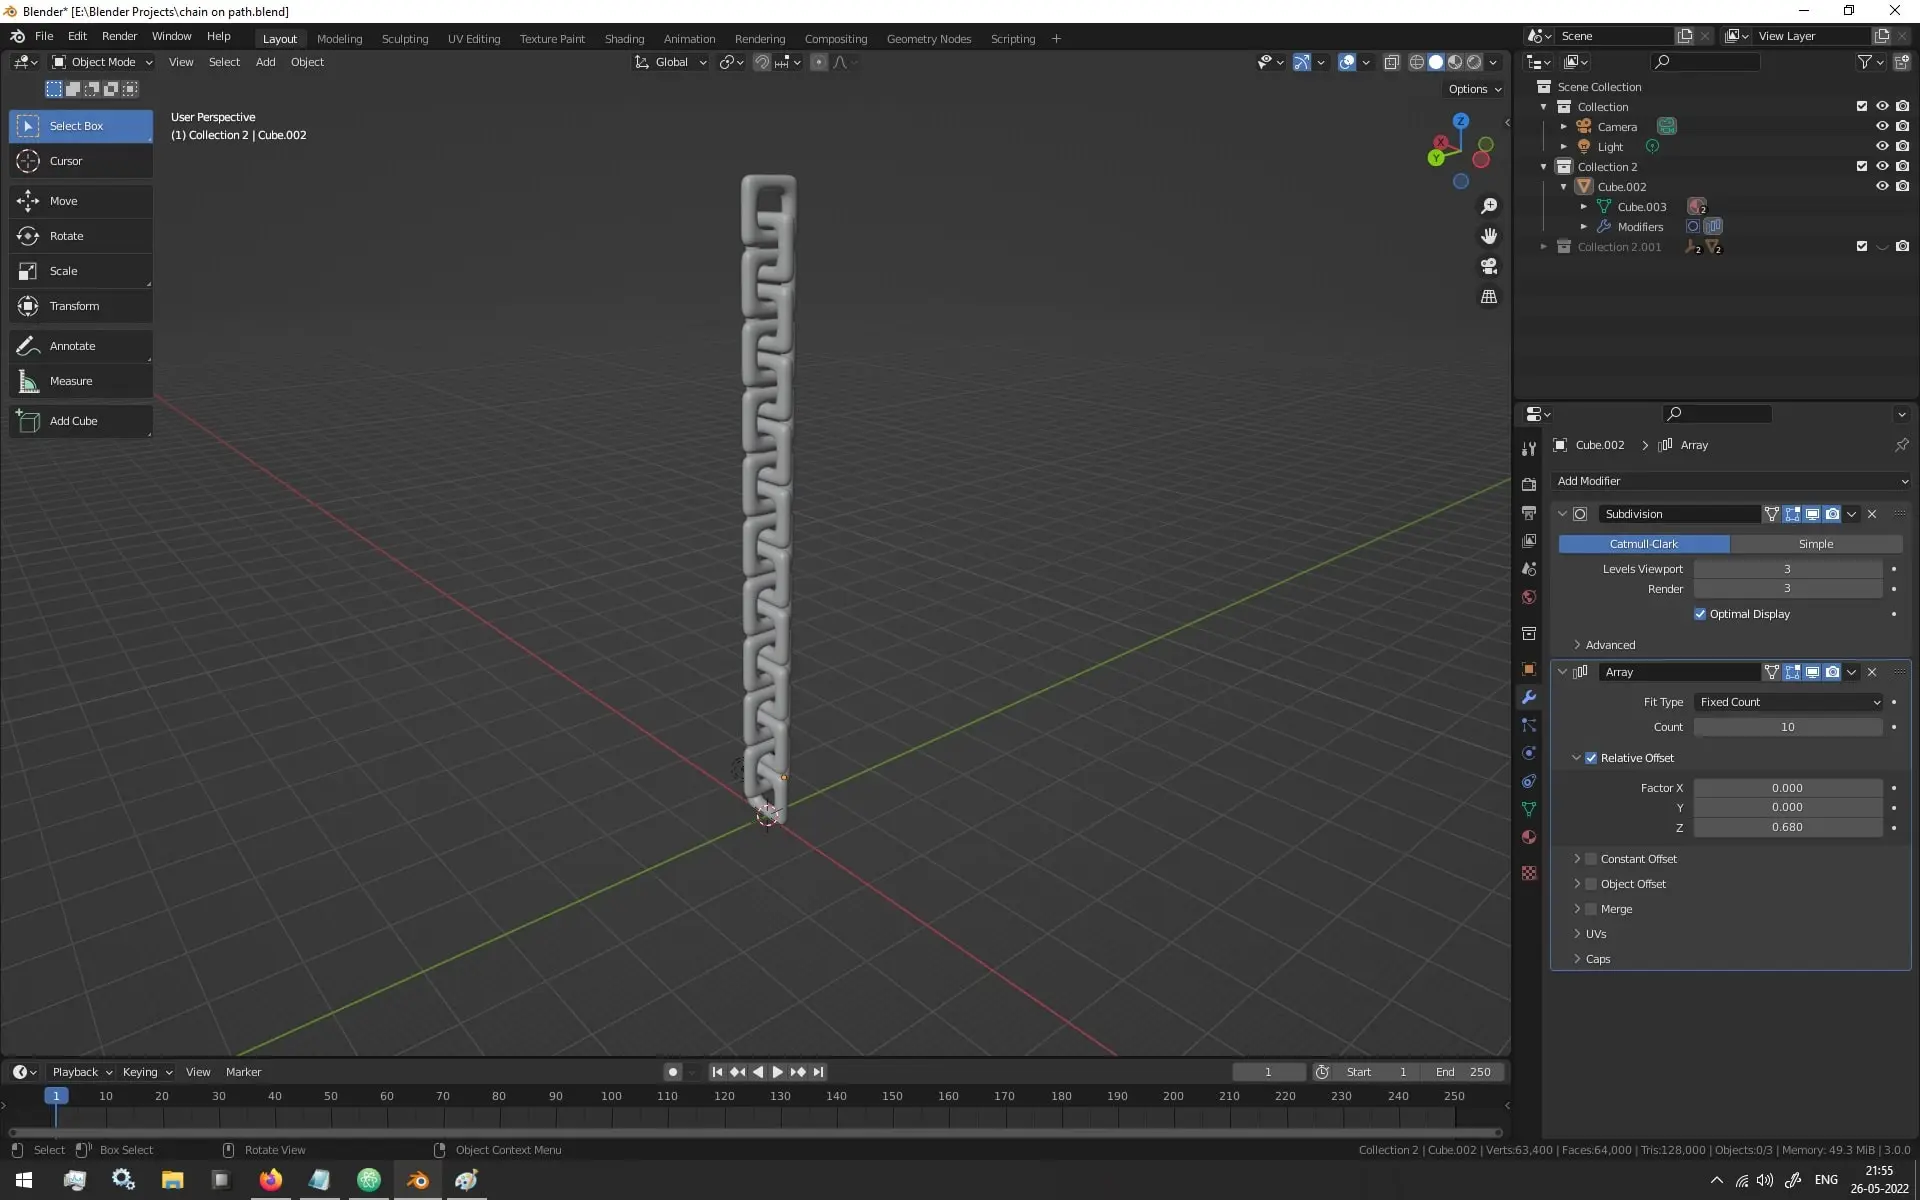
Don’t Apply the Array Modifier as we want it to be Non Destructive
so that we are able to modify the amount of chain links and offset later if some issue arises.
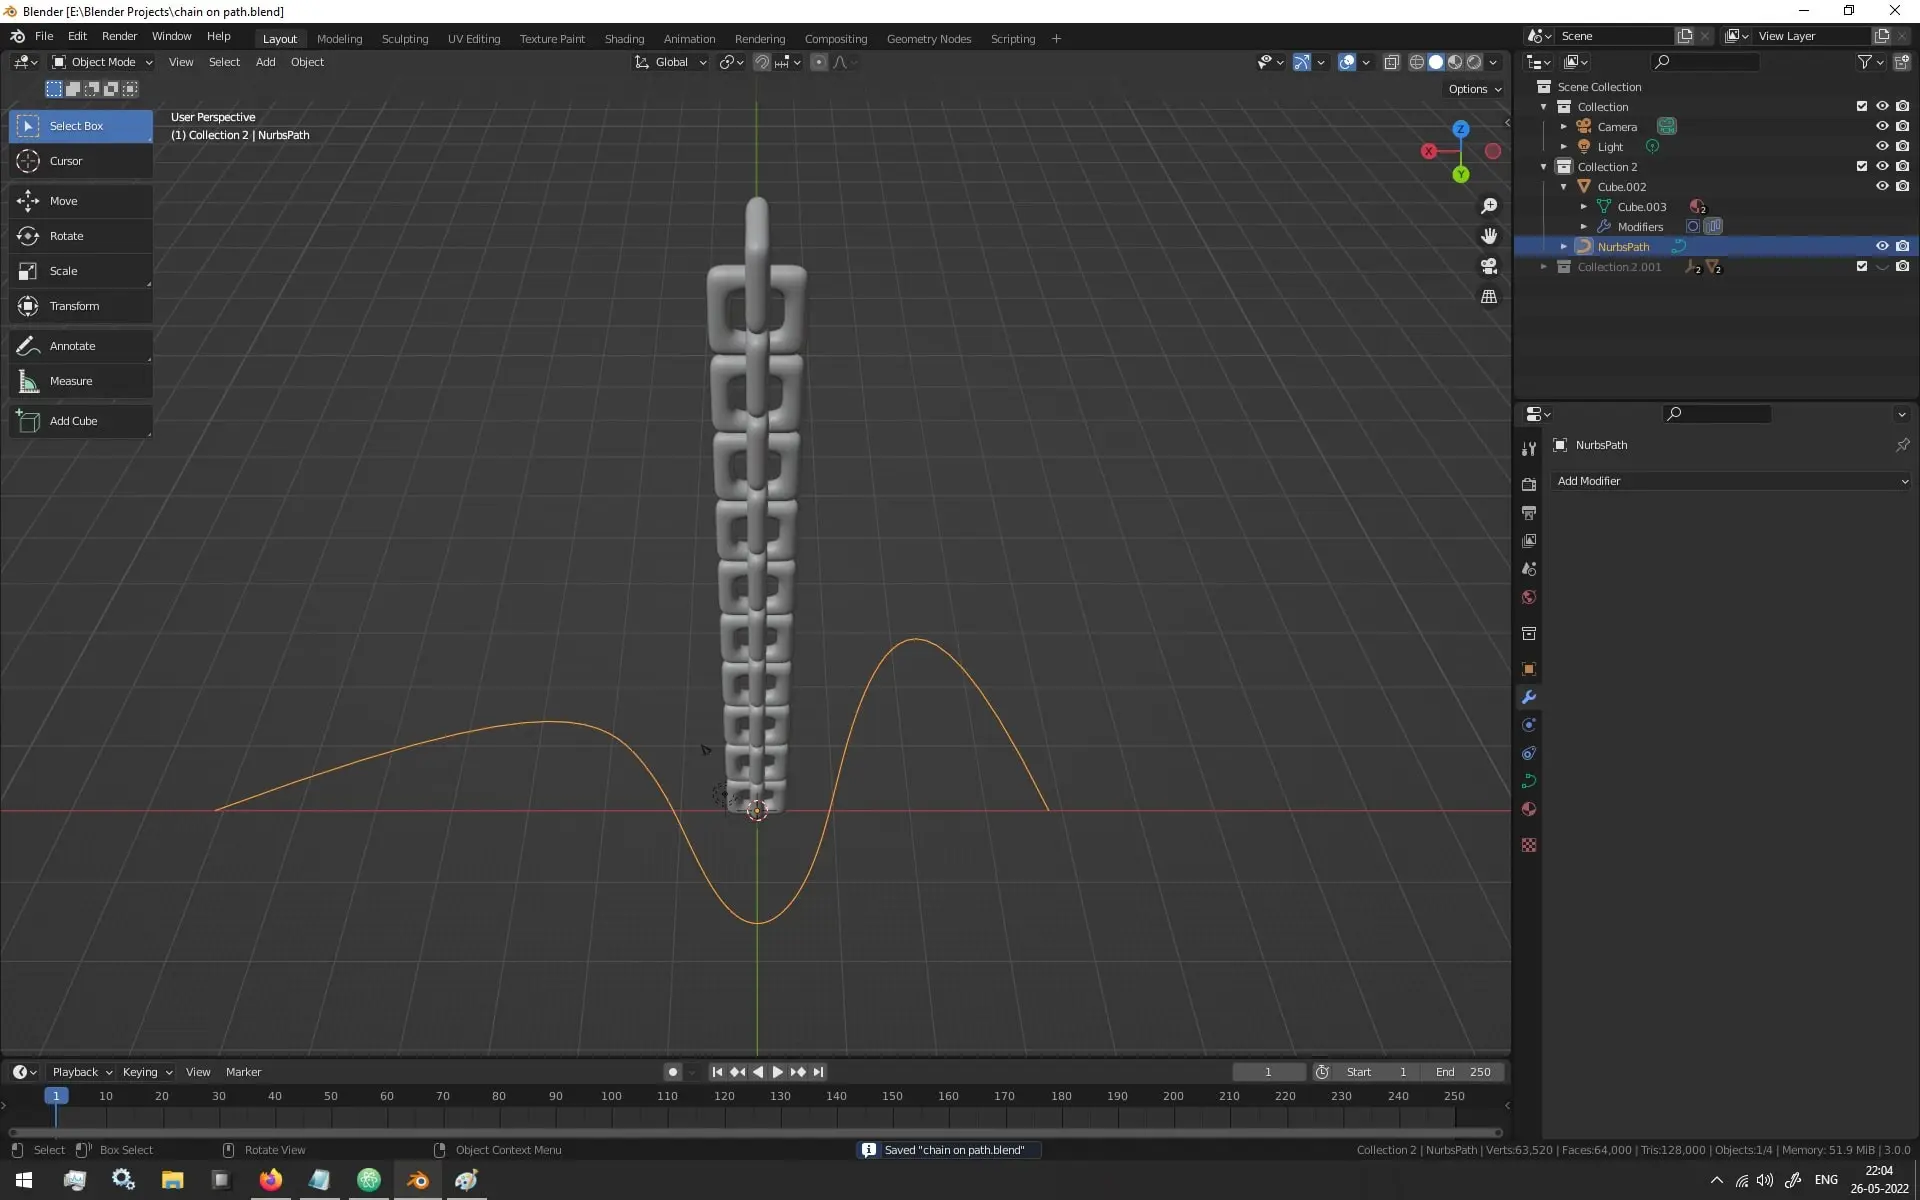
Step 3 – Add A Curve / Path Curve To The Scene and Modify it however you want
With that done, we will now need to add a Path Curve.
You can add Bezier Curve, Circle Curve, Nurbs Curve, Nurbs Circle Curve
or basically Any Type of Curve that you want
as finally what we need is a Curve Object in our scene to follow.
You can do add the Path Curve by going to the Layout Tab
and then while hovering over the Viewport press Shift + A to open the Context Menu
In this Context Menu, go to Curves -> Path and click on it to add a Path Curve to the current scene.
If the Path Curve is too small in comparison to your 3D Model,
you can Scale it just like any 3D Model in Blender.
Now, with the new Path Curve in the scene, select it and then press Tab to enter Edit Mode.
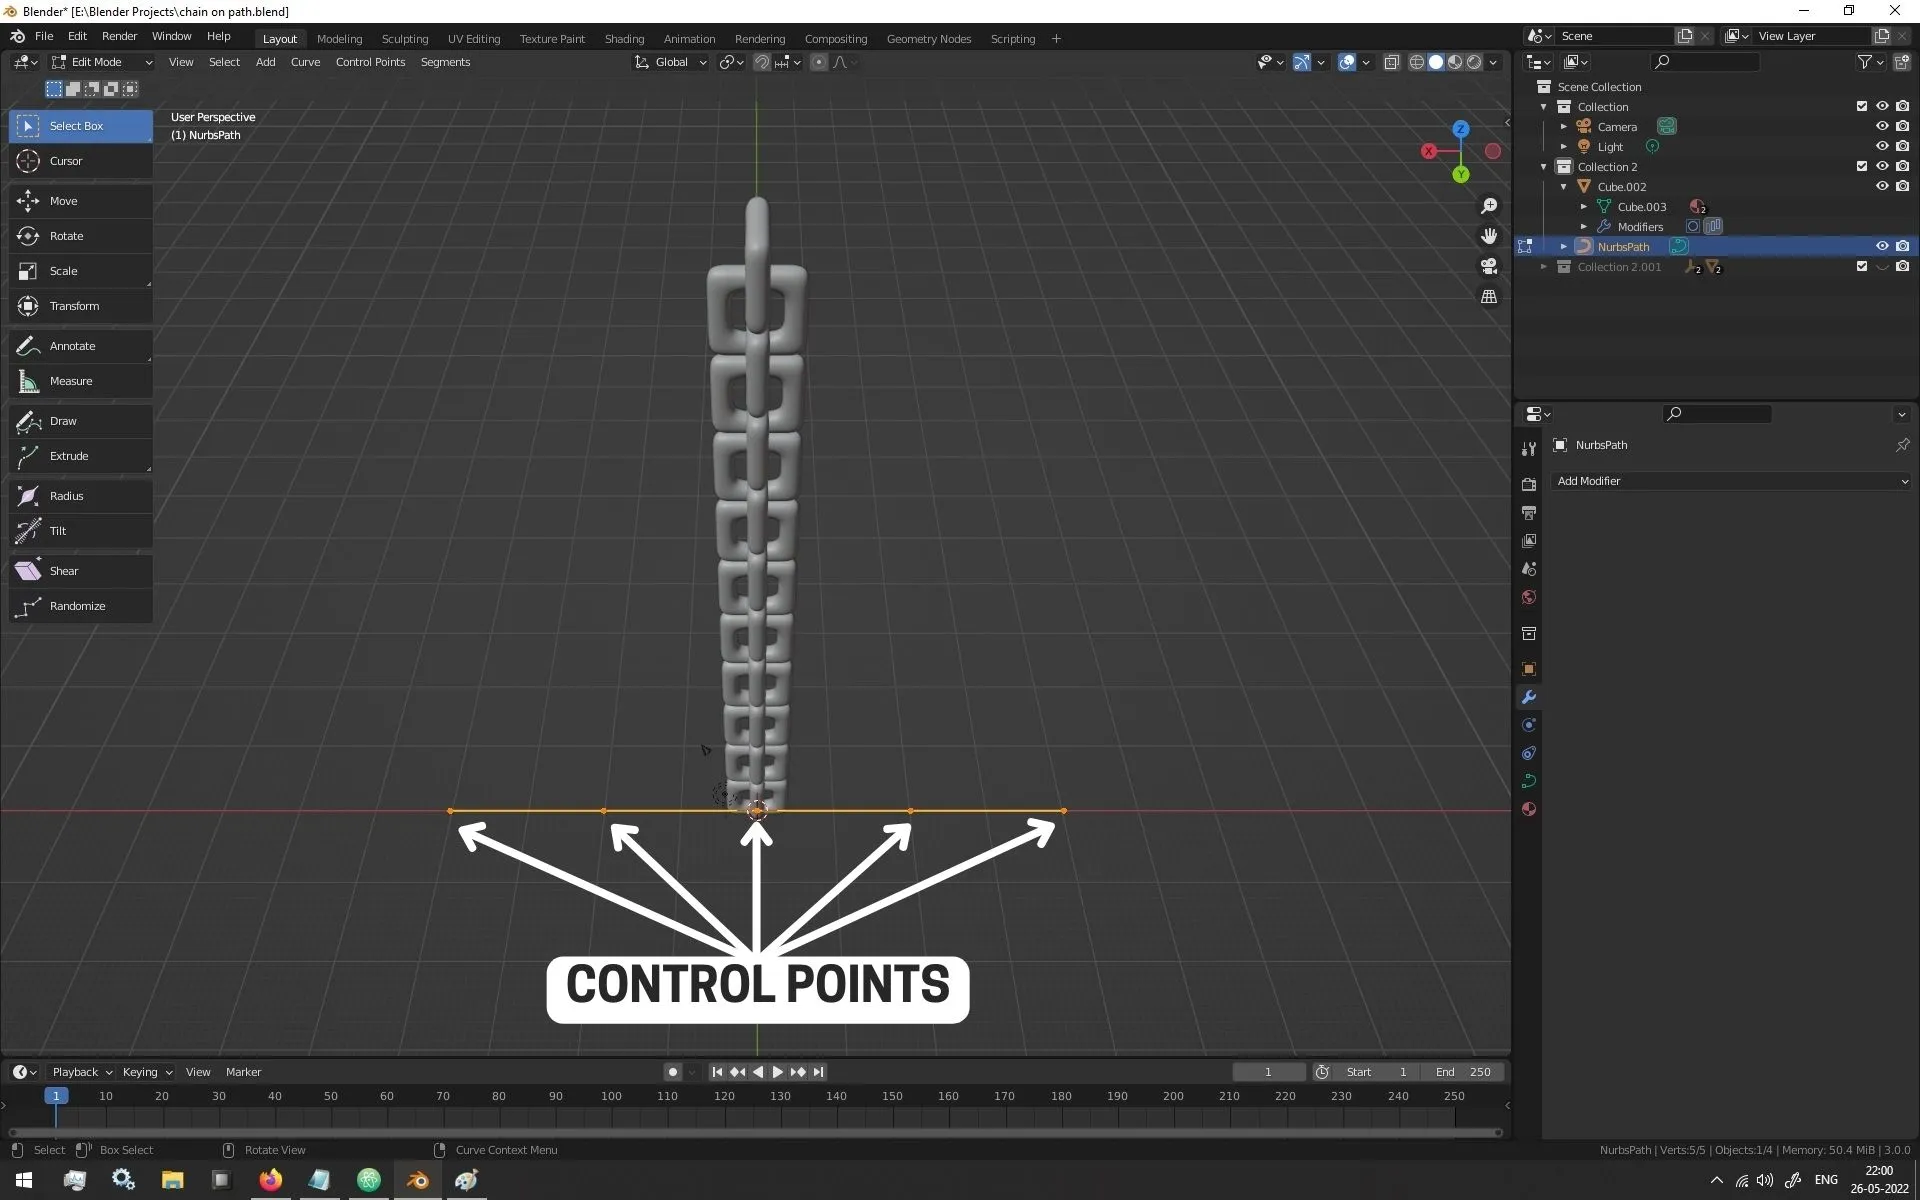
Here, you will be able to see 5 control point already exists on the Path Curve
which by default is straight. How Ironic! :p
If you want to Add More Control Points for finer control,
you can do so by selecting 2 or more control points and then Subdividing it whenever you want.
With the control points there, you can select as many control point that you want
and then use the Blender Default G (Grab) key to move it freely within the Scene
to make your Path Curve look the way you want it to.
Mine looked like this when I was done.
Just an FYI, you won’t be able to add more control points to Bezier Curves or Circle Curves without some sort of Blender Addon.
Step 4 – Add Curve Modifier To The 3D Model and Tweak The Settings
With the Path that you want your 3D Model to follow constructed,
now we will need to go back to the 3D Model in my case the chain links
and then adding the Curve Modifier to the 3D Model in the Modifier Pane / Tab of the Properties Panel.
After that, finally we need to set the Curve Object to the Path Curve that we have created above and our job should be done!
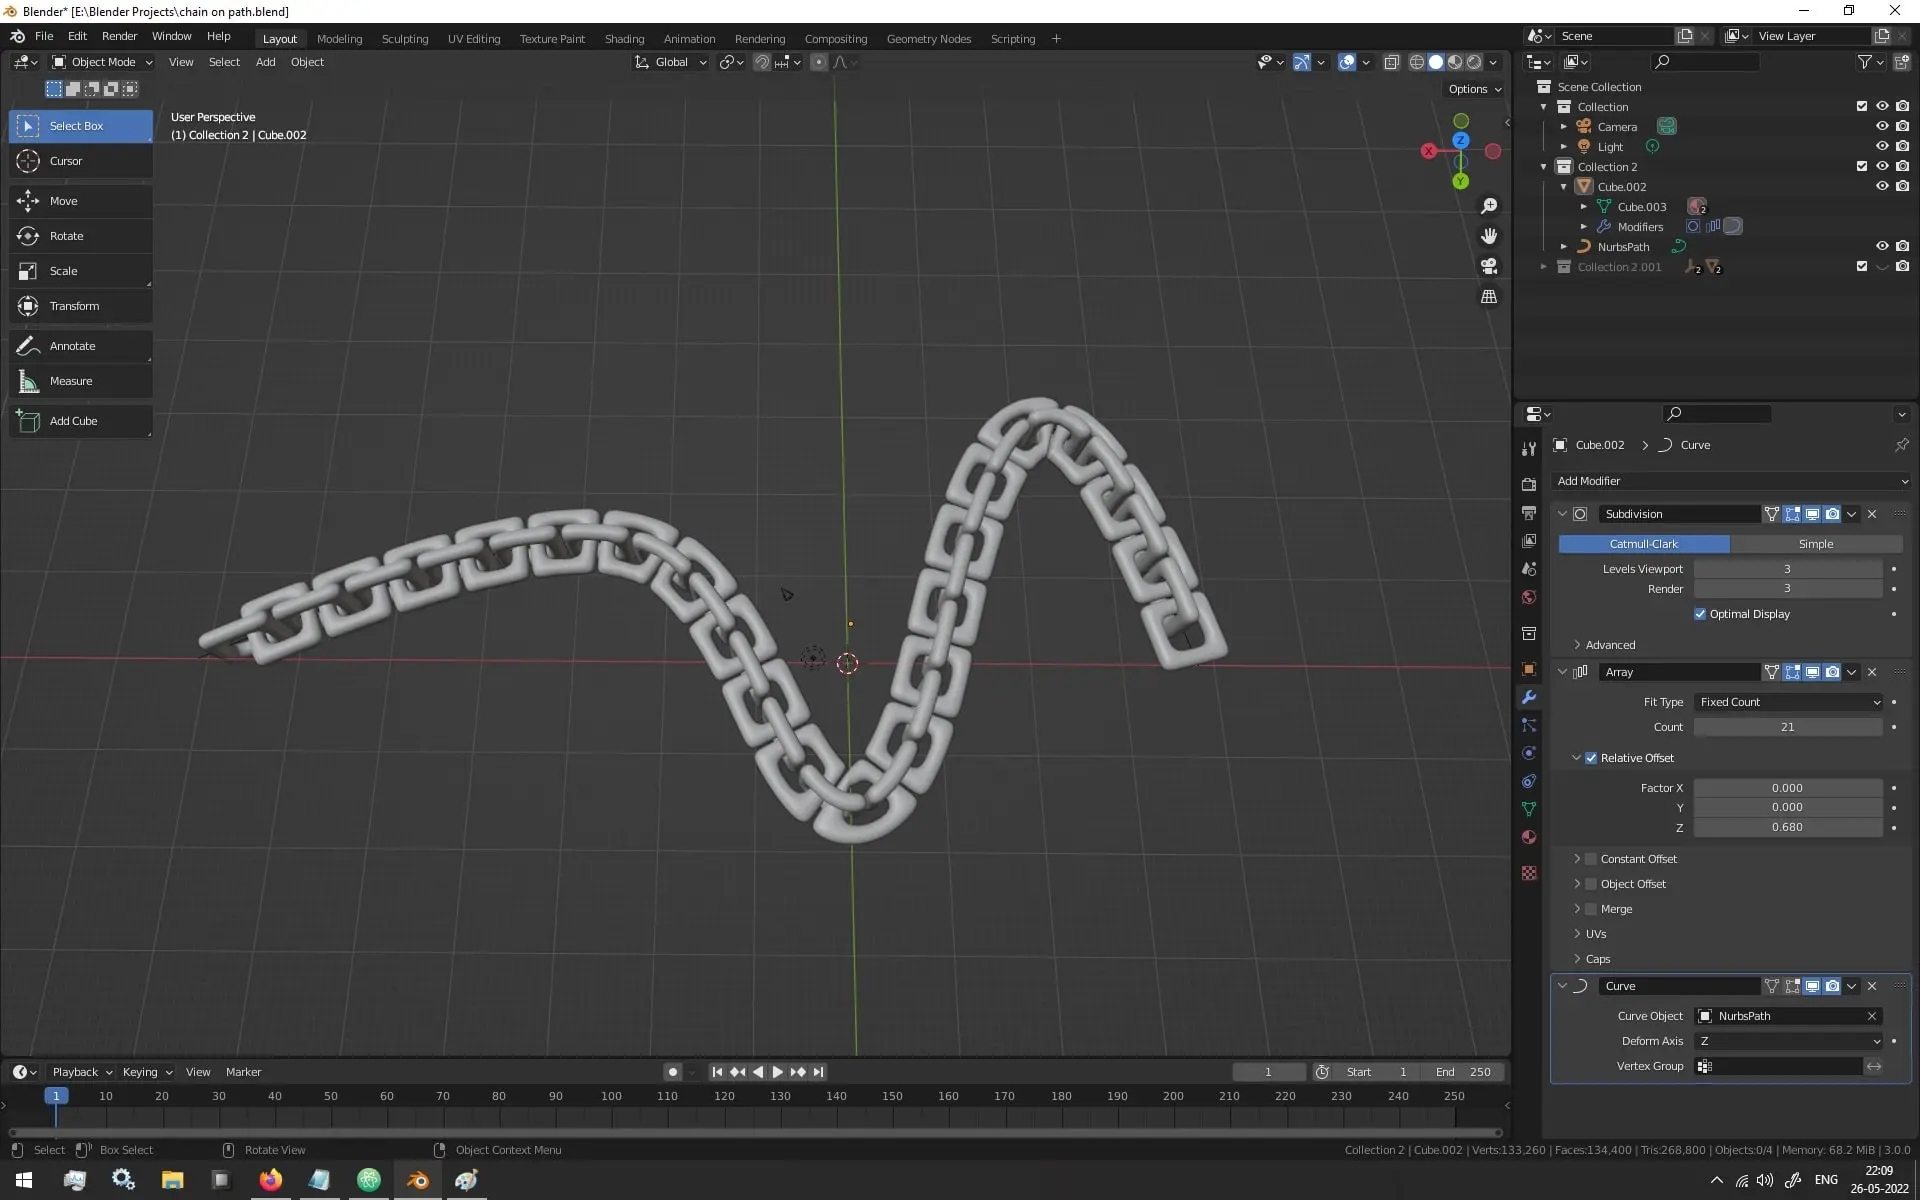
You also need to make sure that the Array Modifier is Above the Curve Modifier
as otherwise the Duplicate 3D Models will not follow the Path Curve.
Now, if you do this and you still can’t get the 3D Models to follow the Path Curve
you will need to play around with the Deform Axis drop down in the Curve Modifier
just go through each of them, and one of them will definitely work.
And that all there’s to it!
You now have an 3D Model or Array of 3D Model following a Curve or a Path Curve in this case.
Conclusion
Well Folks! That does it for this article and I hope that you found this information useful.
May you have success in your career whatever it may be.
See you again in the upcoming articles!
Share this post and follow us on Social Media platforms if you think our content is great, so that you never lose the source of something you love.
If you like the content do go through the various articles in Computer Graphics Series that this post is a part of and also go through the other series we have on Bite Sized Tech.
Also we have a YouTube Channel : Bite Sized Tech where we upload Informational Videos and Tutorials like this regularly. So, if you are interested do subscribe and go through our Uploads and Playlists.
Follow Us On Social Media
Goodbye for now,
This is your host VP
Signing off.
Articles In Basics Of 3D Art With Blender Series
Overviewing The Basics Of 3D Art | 3D Modeling, UV Unwrapping, Texturing & Rendering
Color / Albedo Map / Diffuse Map
Specular Map / Reflectivity Map (Not Uploaded Yet)
Metalness Map (Not Uploaded Yet)
Gloss Map / Roughness Map (Not Uploaded Yet)
Displacement Map / Height Map (Not Uploaded Yet)
Ambient Occlusion i.e AO Map (Not Uploaded Yet)
Channel Mask Map (Not Uploaded Yet)
Articles In Blender Tutorials Series
How To Make a 3D Model Or an Array of 3D Model Follow A Curve