Normal Maps and Bump Maps are quite commonly used in 3D Art and Game Development
to bring in an incredible amount of detail to the 3D Models without negatively affecting the underlying performance.
In this Article, we will be going over
- What Normal Maps and Bump Maps are
- Why we as 3D Artists and Game Developers use them
- Why do we Fake Details using Normal or Bump Maps instead of using The Albedo Map
- Overview How Normal Maps are Different from Bump Maps
- Open GL vs Direct X Normal Maps
- Where you can get your hands on both Paid and CC0 Normal Maps
- and Finally, How you can use Normal Maps when working with Blender
So, without further ado, let’s get started!
This Article is part of 3D Art Basics For Game Developers which contains
- Overviewing The Basics Of 3D Art | 3D Modeling, UV Unwrapping, Texturing & Rendering
- Albedo Map / Diffuse Map / Color
- Normal Map and Bump Map <– You Are Here :p
- Specular Map / Reflectivity Map (Not Uploaded Yet)
- Metalness Map (Not Uploaded Yet)
- Gloss Map / Roughness Map (Not Uploaded Yet)
- Displacement Map / Height Map (Not Uploaded Yet)
- Ambient Occlusion i.e AO Map (Not Uploaded Yet)
- Channel Mask Map (Not Uploaded Yet)
What are Normal Maps and Bump Maps?
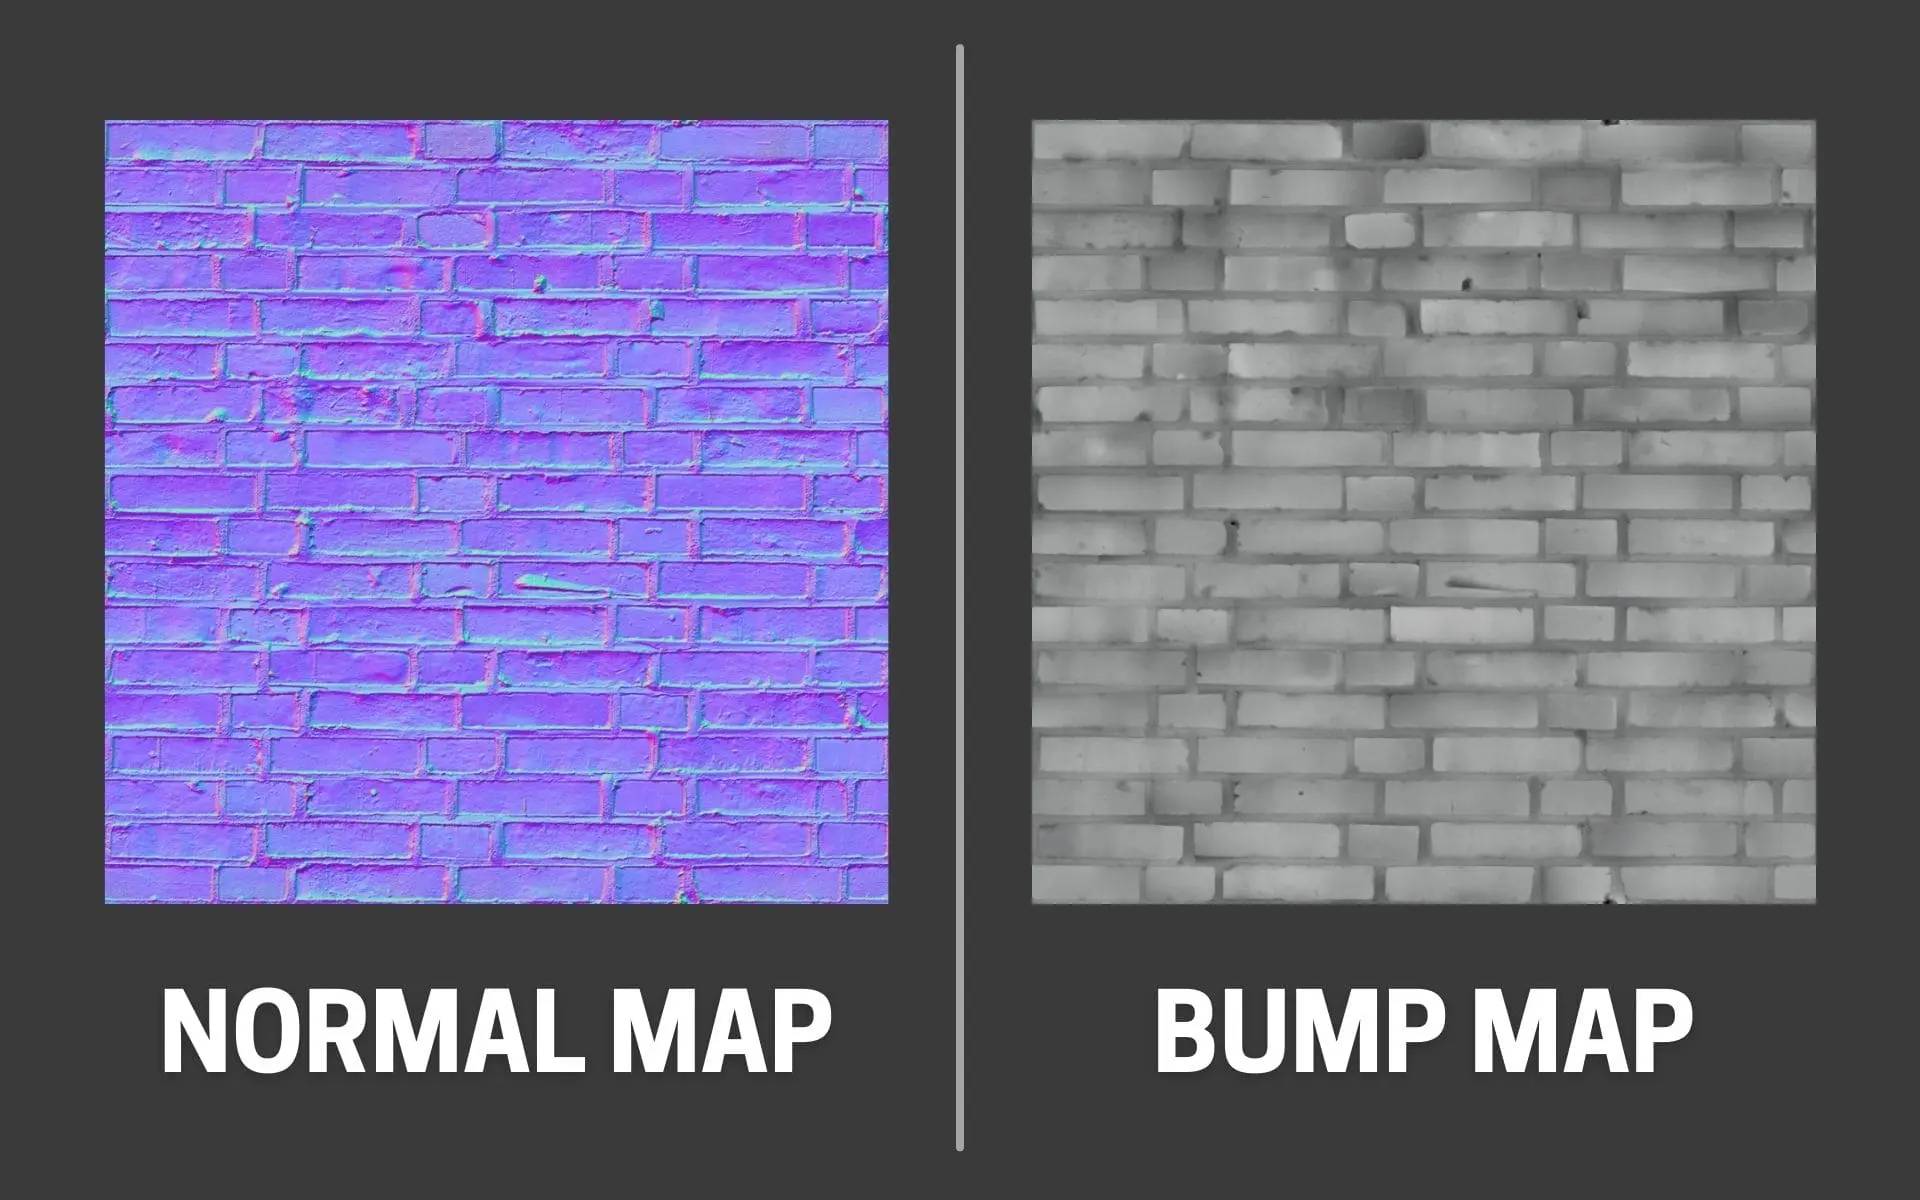
Normal Maps and Bump Maps are just Image Textures that are used to for the process of Normal mapping or Bump mapping.
You can use them for creating an illusion of the 3D Model having insane amount of detail while still keeping the underlying geometry as simple as possible.
If you are new to 3D Art, you might be thinking that
Why not just have more Complex Geometry instead of creating an illusion using these Normal and Bump maps?
And the answer is actually pretty simple,
With the current mainstream technology that we use for 3D Art,
it can be extremely Computationally Heavy to have a 3D Model that is geometrically complex
especially when you are rendering the frames in real time like we do for games.
As you might already know a 3D Model is made up of Vertices,
when 2 vertices are connected to each other its called an Edge, 3 vertices makes a Tri / Triangle and 4 vertices makes a Quad.
When understanding how complex a 3D Models geometry is,
One of the important factors is to look at How many Tri or Quad make that 3D Model
The higher this count the more complex the model will be and the more powerful the computer will need to be to process that model.
Of course, there are other reasons why it will become more computationally heavy but we will talk about it some other day.
On the other hand, by using Normal Maps or Bump Maps which are literally just images, as shown in the image above,
not only can we effectively reduce the geometrical complexity of the 3D Models by faking a lot of larger and smaller details,
but also increase the visual detail to a level which would take millions of Tris or Quads to do so otherwise
if we were trying to do so by making the geometry of the 3D Models complex.
Why Fake Details using Normal or Bump Maps instead of using The Albedo Map
Now comes another point and that is,
if we are just faking the details – Why not do so in the Albedo Map directly which we are already using?
why do we need to use a Normal or Bump Map?
The reason is that, though we can certainly do so in Albedo Map
it would be the worst way to do so.
Remember that we are going to Compute the Lighting in whatever 3D program we are using
and if we were to Fake the details in the Albedo Map,
lighting won’t interact with these smaller and larger details, making those details static.
It might even lead to problems like having the details that you added contain Shadows or Highlights that conflict with how the lighting is interacting with the 3D Model itself.
on the other hand when using Normal or Bump Maps,
The Shader for the Material on the 3D Model does various calculations
so that lighting affects these Normal or Bump Map details correctly to form appropriate shadows and highlights.
Difference and Similarities Between Normal Map and Bump Map
You can consider Normal Maps as an Improved Version or a Derived Version of Bump Maps.
Bump Maps have been in use for a long time for creating fake details.
Bump Maps are Grayscale Images that consist of darker part which will result in Depressions and lighter parts which result in Protrusions
As it is a grayscale image you only need to use a single channel of the RGB channels to store a Bump Map,
while Normal Maps need to use all the 3 – R, G and B channels of the image to store information about the Vector Normals of the Surface.
Normal Maps and Bump Maps both interact with lighting to create the right shadows and highlights
but Bump maps have problem dealing with Corners and Edge Details.
Also as both of them are just images and doesn’t modify the underlying geometry at all, it makes it really easy to iterate upon them.
OpenGL vs DirectX Normal Maps
OpenGL and DirectX are are two Graphics API that are used to communicate with the GPU i.e Graphics Processing Unit.
The Reason Why there is a difference stems from how Normal Maps are interpreted in each of these Graphics APIs.
The Particular issue lies in how the Green Channel of RGB is interpreted, which results in completely opposite results,
i.e Protrusions in OpenGL Normal Map becomes Depressions in DirectX Normal Maps and vice versa, as shown in the image below.
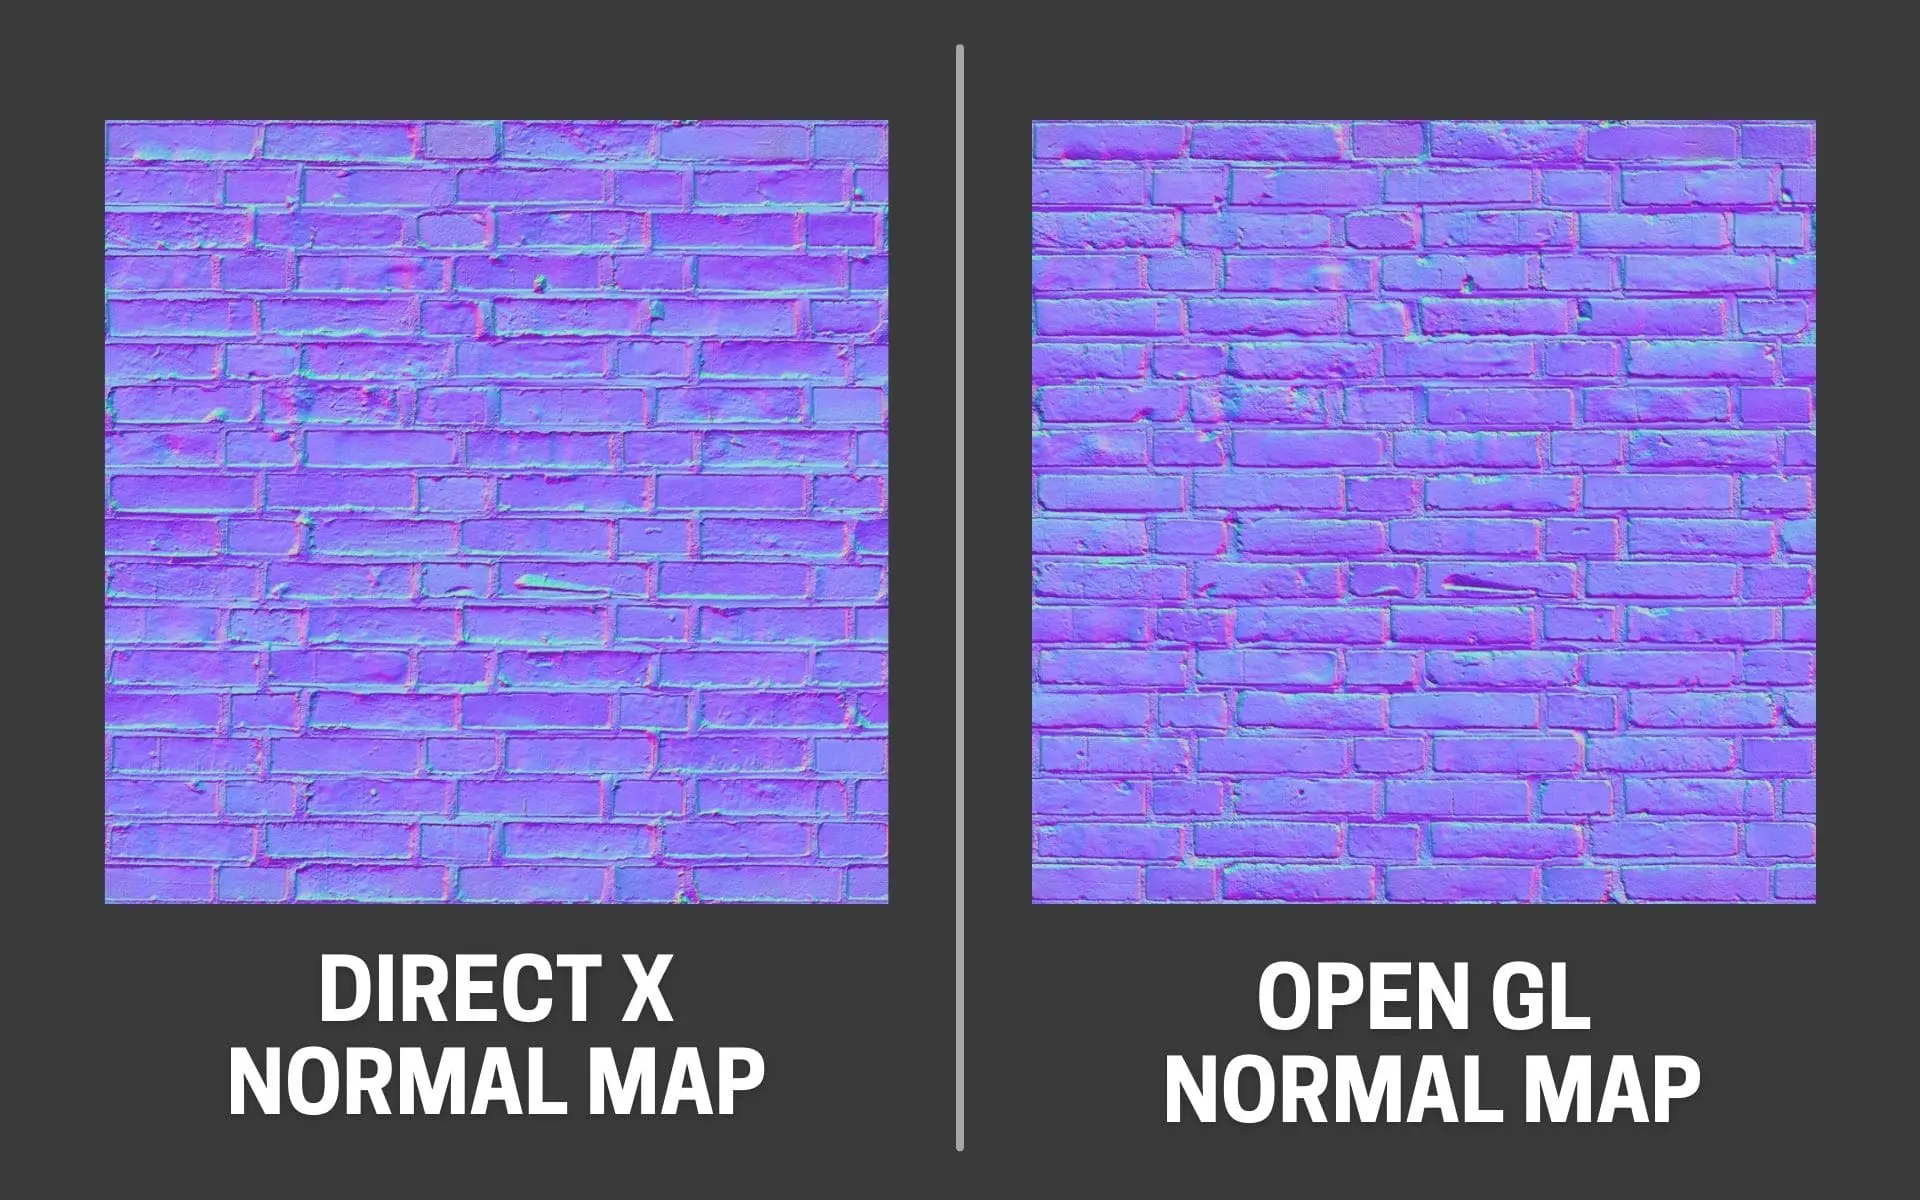
So to solve this issue if you are facing it, you don’t need to bake the Normal Map again,
you can just invert the Green Channel of the Normal Map Image Texture.
Where To Get Normal Maps
While you can make your own Bump Maps using Gimp, Photoshop, Krita, Clip Studio Paint, etc as it is just a grayscale image
and Normal Maps using a 3D Software like Blender or Maya,
where you will use a Higher Polycount and detailed version of your 3D Model
and then Bake a Normal Map from it to a Lower Polycount version of that 3D Model.
It will definitely be a time consuming process to get the details you need just right.
So, instead if it suits your needs, you can get Normal Maps / Textures from a lot of places on the internet.
Just Make sure you check the licensing terms before using them in your projects.
I’ll link some good websites below for both paid and CC0 Textures.
Using Normal Maps in Blender
To Use Normal Maps in Blender the first thing to do is create and assign a Material to your UV Unwrapped 3D Model.
I’ll be using Principled BSDF as my Shader for this Material as it contains everything that i will need.
I’ll also be just using 2 Default Cubes with different materials,
The First Default Cube will only show the Albedo Map
While the Second Default Cube will uses both Albedo Map and Normal Map
This will help you in visualizing the difference clearly.
If you don’t know How to create Materials in Blender
or How to bring in Image Textures like Albedo Map, Normal Map, etc into Blender
I’ve already explained all the steps in detail in the this article on – Albedo Maps / Diffuse Map / Color,
so you can take a look at it if you get confused.
I won’t be repeating it again in this article.
Next, you will need to bring in the Normal Map you Baked or Downloaded from the internet into your Blender Shader Editor.
You can access the Shader Editor by either going to the Shading Tab
or changing a Division into Shader Editor as shown in the image below.
There are 4 ways in which you can bring in your Textures into the Shader editor
that I’ve already mentioned in detail in the article about Albedo Maps, So again, you can look at that article if you are interested.
In this article, let’s just drag and drop the Albedo Map and Normal map from the File Explorer into the Shader Editor.
Next, join the Albedo Map Image Texture’s Color Output to Principled BSDF’s Base Color
With that done, Hover over the Shader Editor and press Shift + A to open the Context Menu
Here go and click on Vector -> Normal Map, to create a Normal Map Node
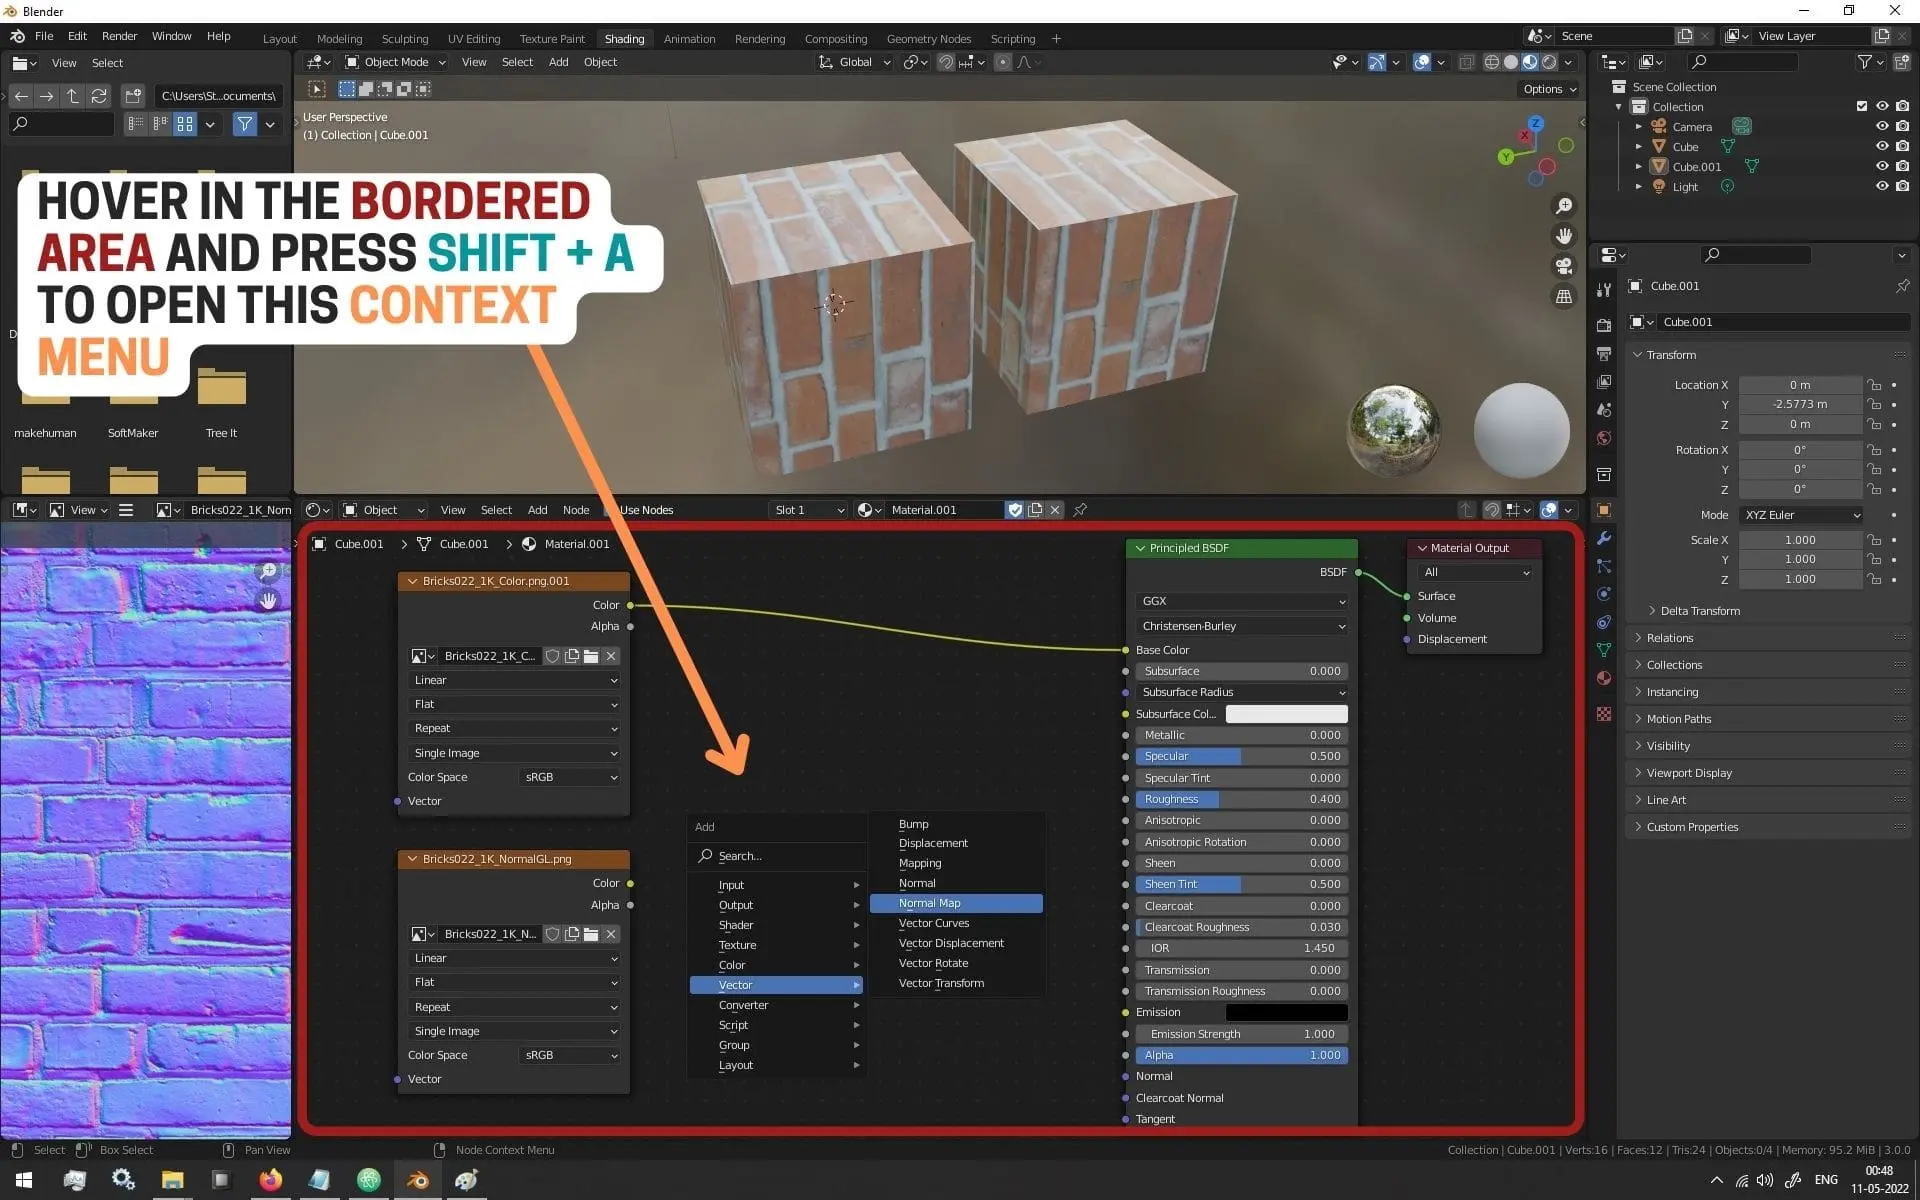
and click anywhere in the Shader Editor to place it.
Now, drag the Color Channel from the Normal Map Image Texture’s Output
and drop it into the Color Channel of the Normal Map Node’s Input.
Then, drag the Normal Output from the Normal Map Node
and drop it into the Normal Input of the Principled BSDF Node, as shown in the image below.
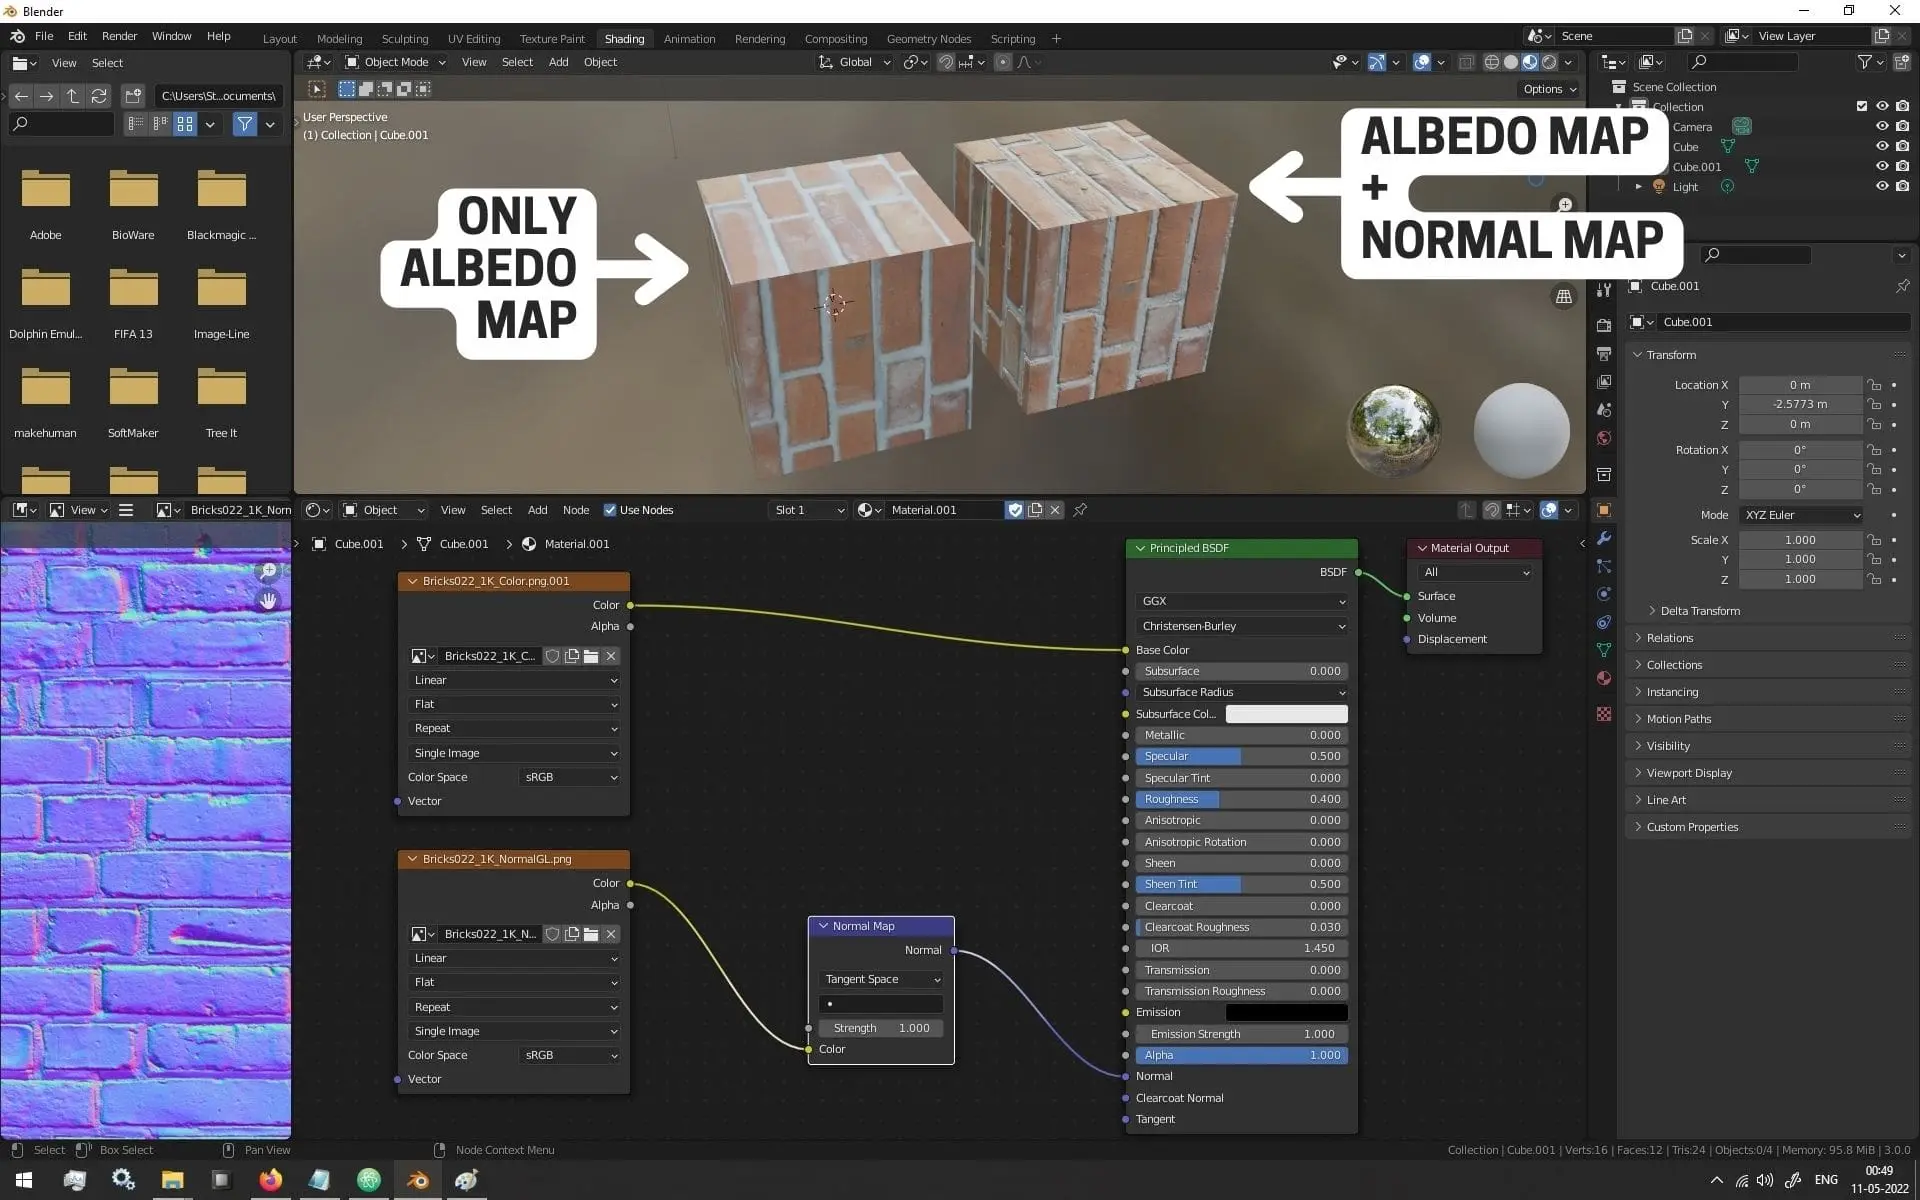
And as you might be able to see on your 3D Model We are done!
Now you can use the Strength in the Normal Map Node to control how the Normal Map affects the Surface.
Conclusion
Well folks, that does it for this article.
i hope that this information will be helpful to you.
Share this post and follow us on Social Media platforms if you think our content is great, so that you never lose the source of something you love.
If you like the content do go through the various articles in 3D Art Basics With Blender Series that this post is a part of and also go through the other series we have on Bite Sized Tech.
Also we have a YouTube Channel : Bite Sized Tech where we upload Informational Videos and Tutorials like this regularly. So, if you are interested do subscribe and go through our Uploads and Playlists.
Follow Us On Social Media
Goodbye for now,
This is your host VP
Signing off.
Articles In Basics Of 3D Art With Blender Series
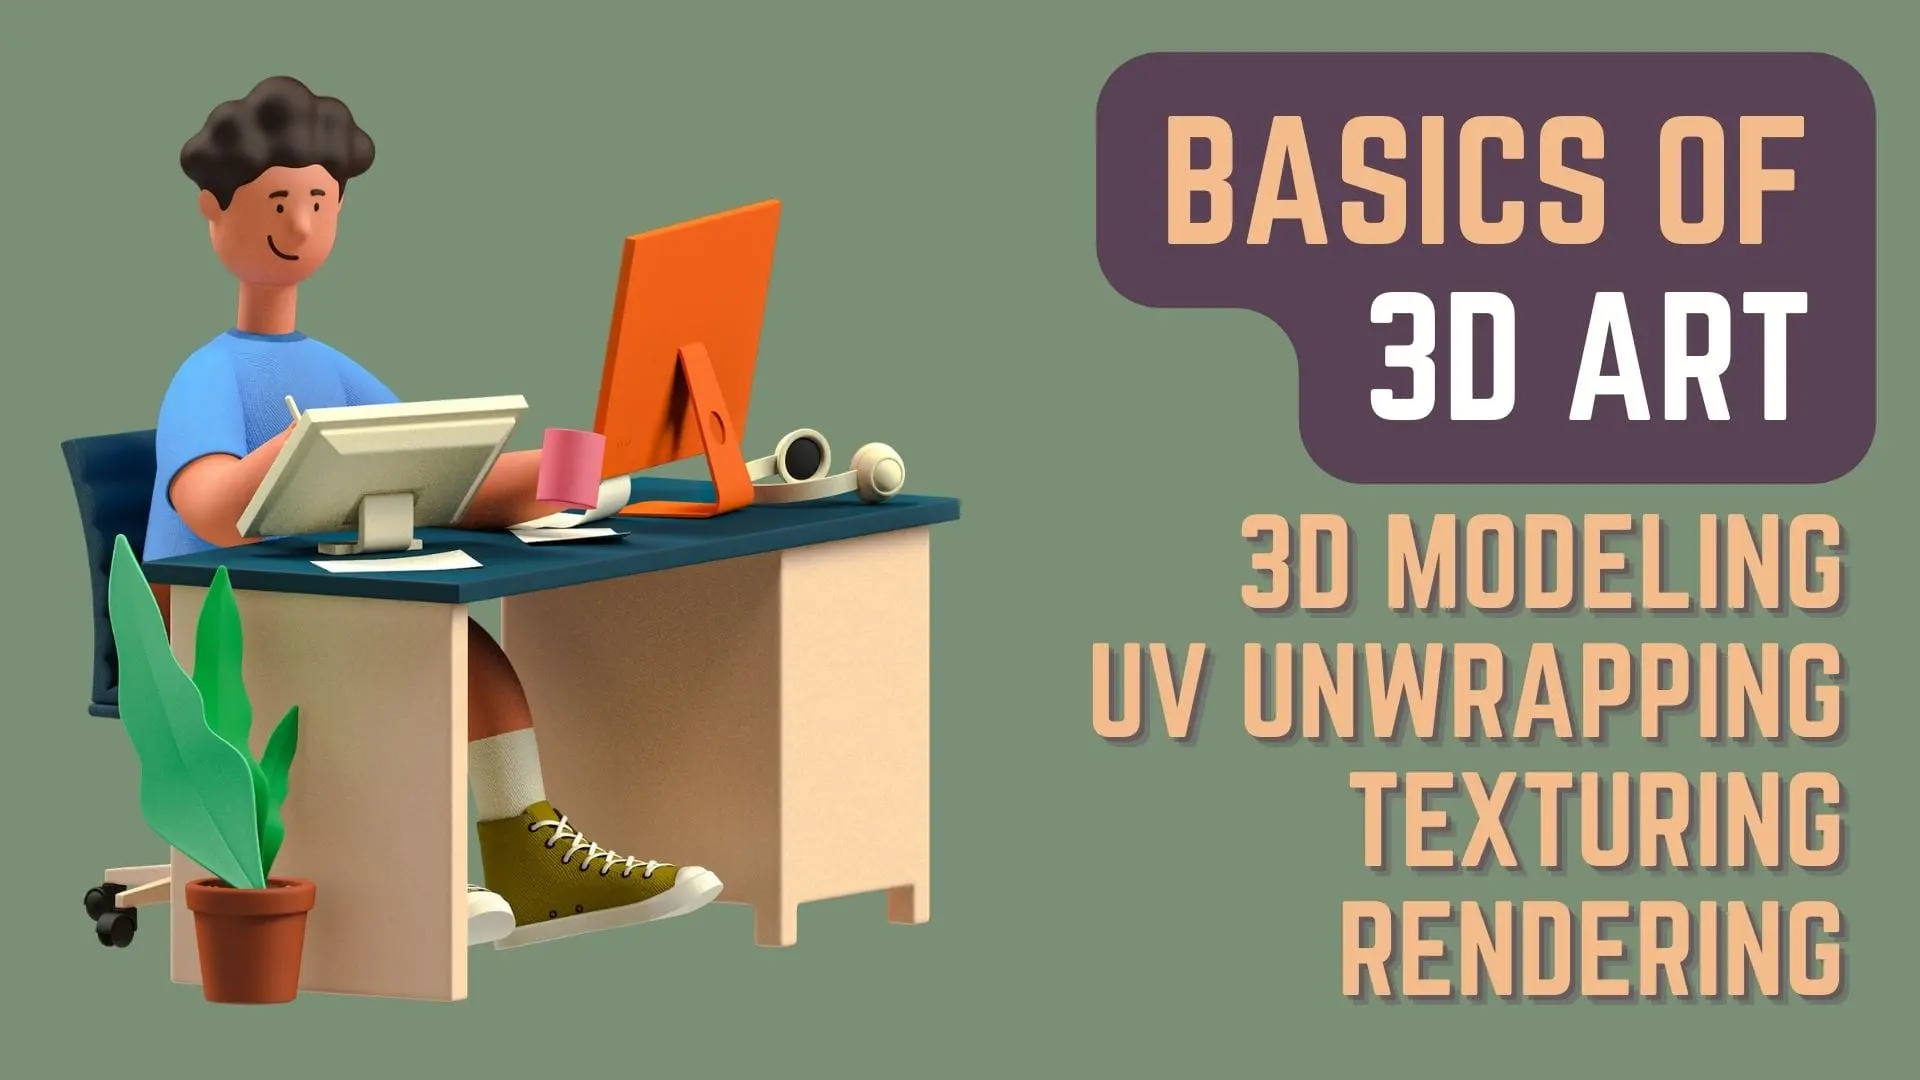
Overviewing The Basics Of 3D Art | 3D Modeling, UV Unwrapping, Texturing & Rendering
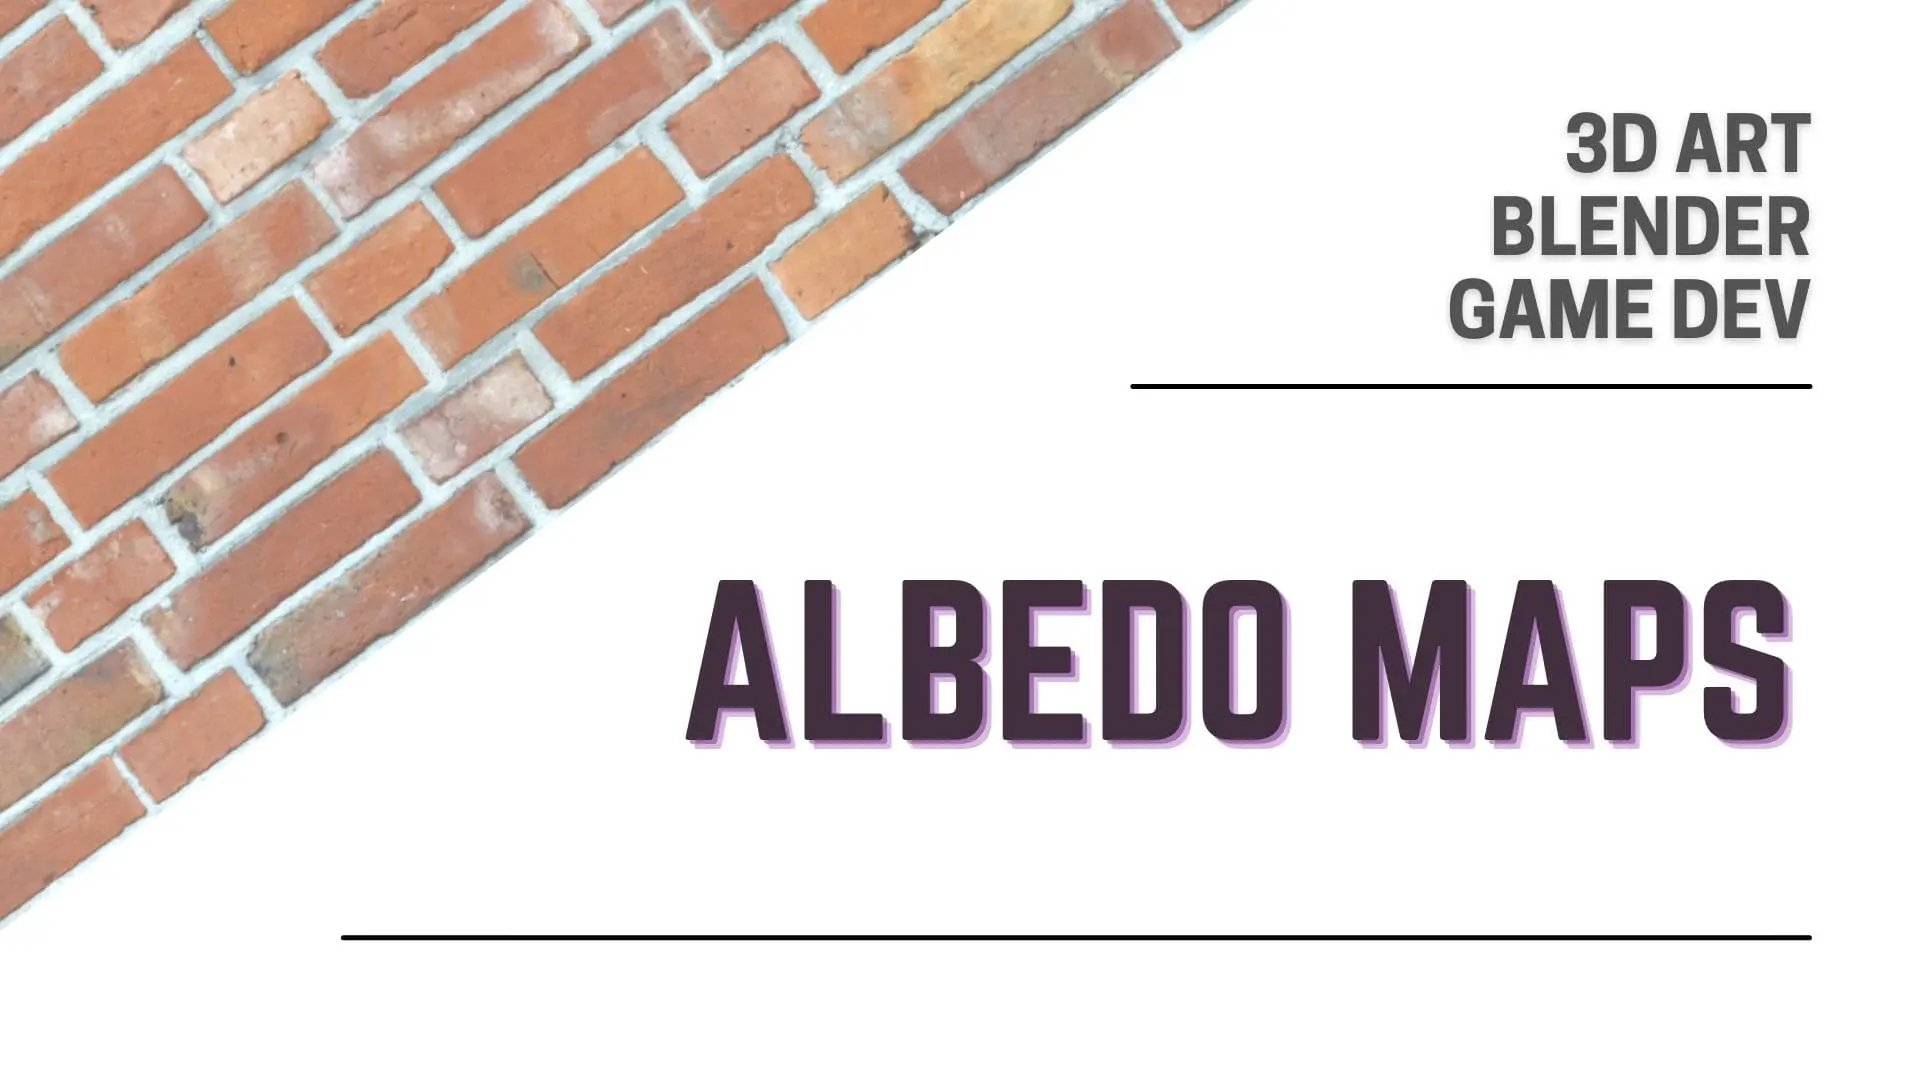
Color / Albedo Map / Diffuse Map
Specular Map / Reflectivity Map (Not Uploaded Yet)
Metalness Map (Not Uploaded Yet)
Gloss Map / Roughness Map (Not Uploaded Yet)
Displacement Map / Height Map (Not Uploaded Yet)
Ambient Occlusion i.e AO Map (Not Uploaded Yet)
Channel Mask Map (Not Uploaded Yet)
Articles In Blender Tutorials Series
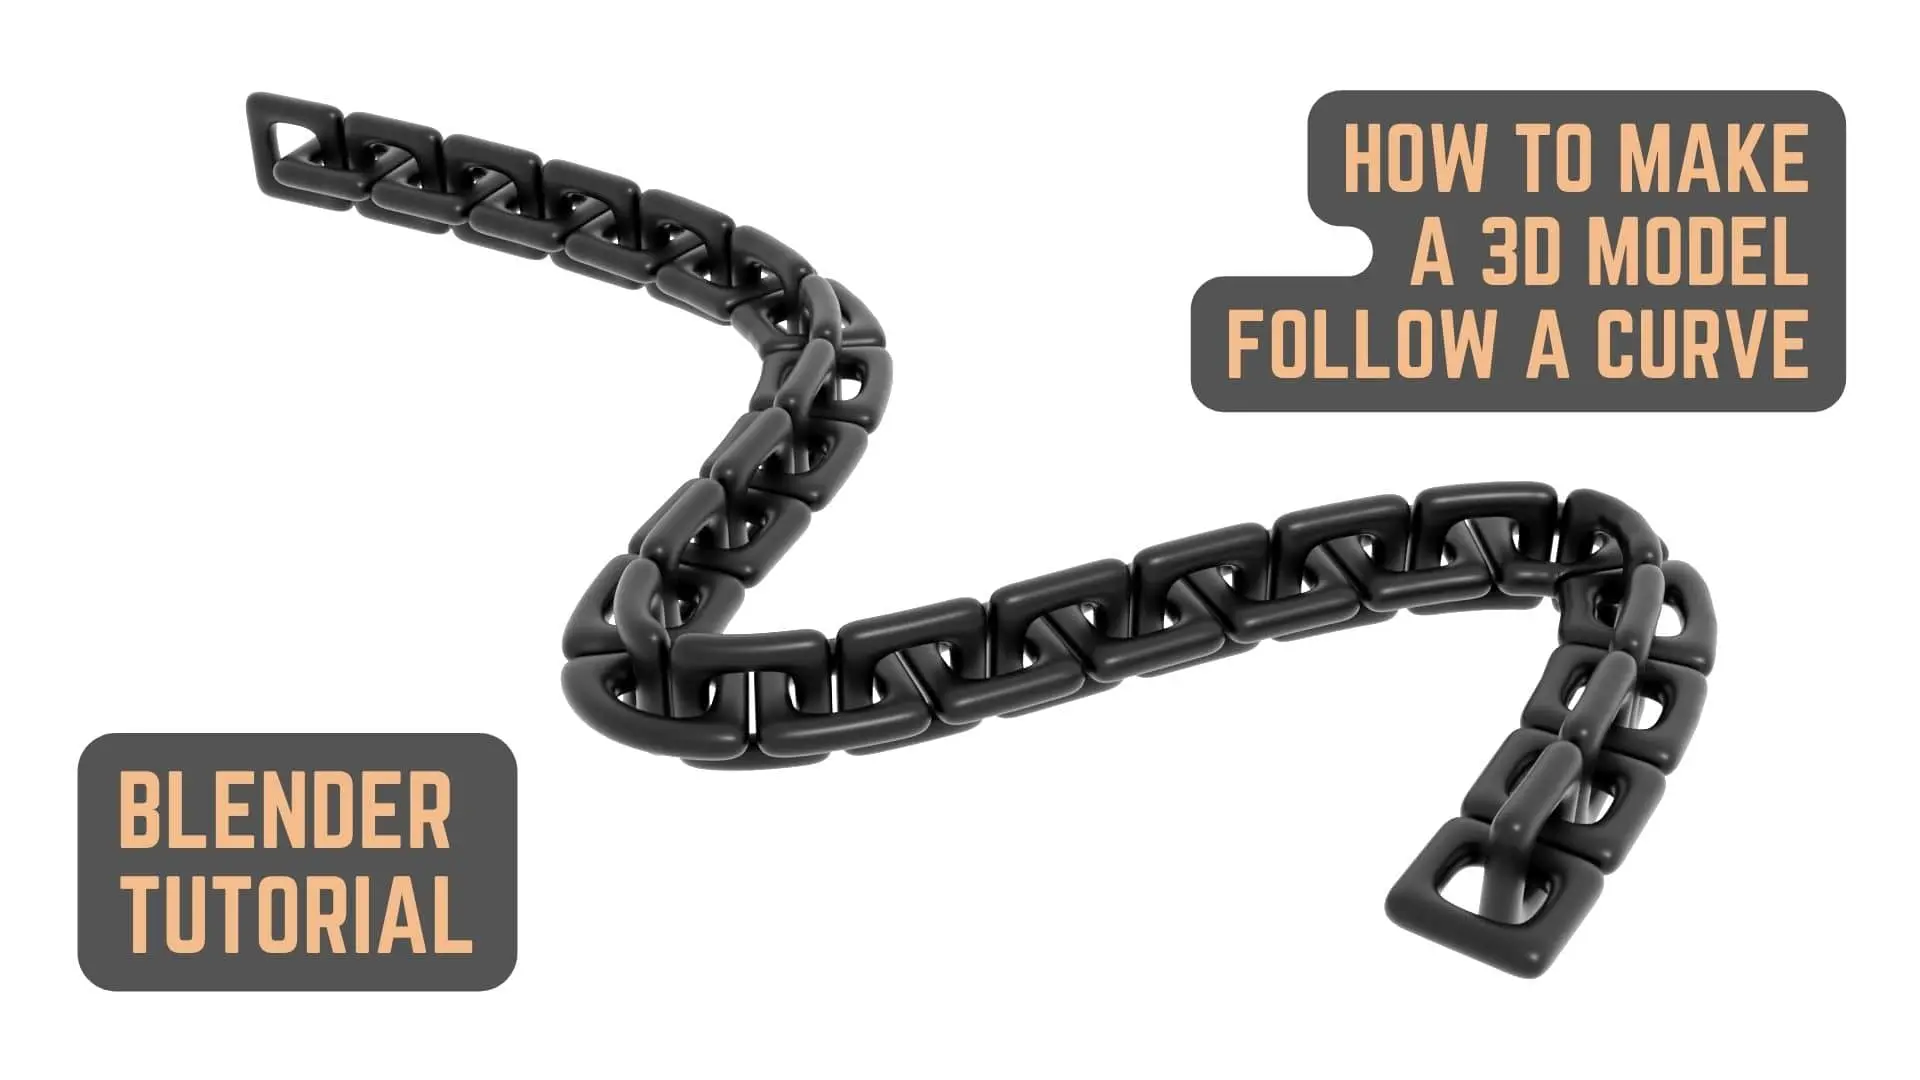
How To Make a 3D Model Or an Array of 3D Model Follow A Curve