3D Art is a field that a lot of aspiring artists are pursuing with all their Heart and Soul
But as the saying goes – “Rome was not built in one day”.
Just like that learning how to create 3D Art and building a 3D Art piece or a 3D Model also takes time and a structural process.
In context of Creating a Beautiful 3D Model, we all need to go through a step by step process
not only to reach the completion of what might consider the epitome of our artistic works
But also to create a robust fundamental understanding, which will as we delve more into refining our 3D art
become more of a Sixth Sense and Muscle Memory.
So, before diving head first into the topic of creating 3D Models
and being completely confused by the sheer amount of things that we need to learn to create 3D Art in whatever style we wants
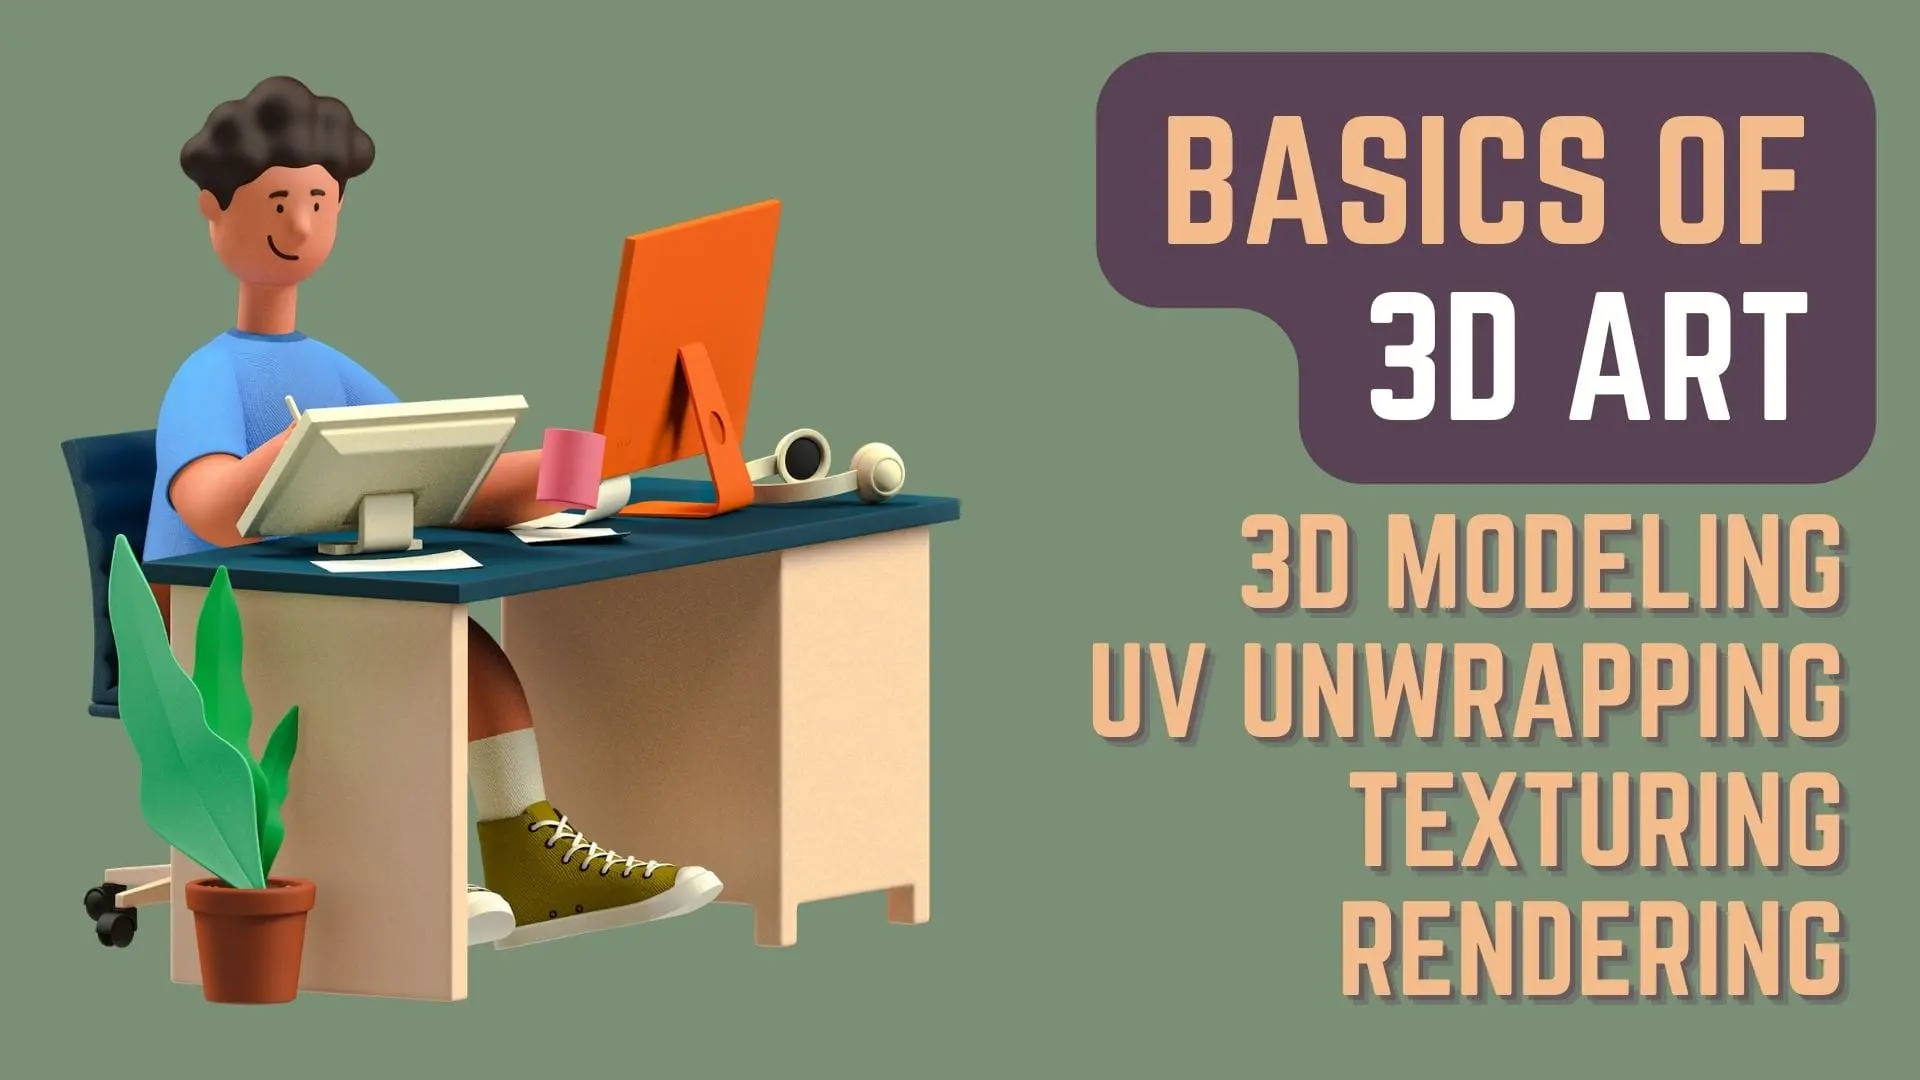
Let’s divide what we need to understand the Basics of 3D Art into 4 Parts
- 3D Modeling
- UV Unwrapping
- Texturing
- Rendering
There are many other things to lean within and outside these 4 parts
but the Basics of 3D Art can be understood with these four sections.
So, let’s overview the process of 3D Art Development
and then we will have various articles in this series about each of these 4 sections.
3D Modeling | Overviewing The Process Of 3D Art
To understand the Basics of 3D Art, first of all you need to understand – What a 3D Model is made of.
A 3D Model is made of a collection of what we call a Vertex.
A Vertex can be considered as a point located somewhere in the 3D Scene / World.
When 4 of such vertices of the same 3D Model are connected together to make a face, we call it a Quad.
While a combination of 3 such connected vertices is called a Tri.
Whether you will be working with Tris or Quads as Faces, will depend on your working Methodology & the 3D Softwares you use.
So essentially, a 3D Model is just a summation of multiple adjoining Faces
and a Face is just combination of connected adjoining vertices.
This means that any 3D Model that you create, whether it be
- 3D Characters
- Watermelons
- Water Bottles
- Smart Phones
- Caves
or whatever that you create is essentially just a Combination of Faces.
I hope that you are clear till now,
as this will be essential in understanding the next part of the process of making 3D Art i.e. UV Unwrapping.
UV Unwrapping | Overviewing The Process Of 3D Art
Now with the first section we have created a 3D Model with x number of Faces,
but this 3D Model does not have any Material applied on it that will make it have the look you want for your 3D Art.
For example, you might want an extremely realistic look or maybe you want a Japanese Anime style look for your 3D Art
and to do this you will need to create various Materials that will give such a sort of look to your 3D Art.
But before you even do that you will need to go through the process know as UV Unwrapping
which is a prerequisite before doing any Texturing work on your 3D Model in question.
UV Unwrapping is a process in which you want to make your 3D Model lay flat in the 2D World,
so that you can apply a Static or Procedural 2D Texture to the said 3D Model.
To do this you basically cut your 3D Model strategically by creating Seams throughout the 3D Model in such a way that it can be easily Textured.
For now i won’t go into more detail about how you would go about doing UV Unwrapping
as in one of the upcoming articles i will go through the whole process in Blender.
Now, with the 3D Model being UV Unwrapped correctly,
let’s move on to the 3rd Section, which is Texturing the UV Unwrapped 3D Model in question.
Texturing | Overviewing The Process Of 3D Art
Texturing in a really laymen term can be considered as the process to coloring the blank canvas that is your UV Unwrapped 3D Model.
What you are doing is basically creating a 2D Image and then UV Mapping your 3D Model’s UV Unwrapped Faces correctly over that 2D Image
in a way that there are No Apparent Visible Seams in your 3D Model.
Seams are always going to be there but you can hide the Seams that you created during the UV Unwrapping process
so that the Seams are not so evident to the viewers of your 3D Model / 3D Art.
Again, we will go in more details about Texturing & UV Unwrapping in upcoming articles about 3D Art in Blender.
Now, let’s move on to the final step i.e. Rendering your 3D Art / 3D Model.
Rendering | Overviewing The Process Of 3D Art
The final step of any 3D Art piece is Rendering your artwork.
Rendering is a process in which you set the Main Camera in your 3D Scene in the way you want as the Art Director
and then as if Clicking a Photo with a real camera, you tell your 3D Software to create that particular Photo, Image or as some would call it a Frame.
So, Rendering in it’s essence is just Photography with you having a lot more control over the Environment of your 3D World
and the way that everything in your 3D World interacts with each other.
Of course, there are a lot of nuances that are different from Orthodox Photography but the essence still remains the same.
So, understanding the Basics of Photography can be helpful in creating better looking Renders.
Also, as Movies are just a series of Images being played constant fast speed, a 3D Animation is also the same.
You are literally creating Multiple Images using your 3D Software like Blender in a sequential order.
Again, the better you are at it the more organic your 3D Animations will feel.
Conclusion
Well Folks! that does it for this article.
Hope you learned something and See you in the Next Article.
Share this post and follow us on Social Media platforms if you think our content is great, so that you never lose the source of something you love.
If you like the content do go through the various articles in 3D Art Basics With Blender Series that this post is a part of and also go through the other series we have on Bite Sized Tech.
Also we have a YouTube Channel : Bite Sized Tech where we upload Informational Videos and Tutorials like this regularly. So, if you are interested do subscribe and go through our Uploads and Playlists.
Follow Us On Social Media
Goodbye for now,
This is your host VP
Signing off.
Articles In Basics Of 3D Art With Blender Series
Overviewing The Basics Of 3D Art | 3D Modeling, UV Unwrapping, Texturing & Rendering
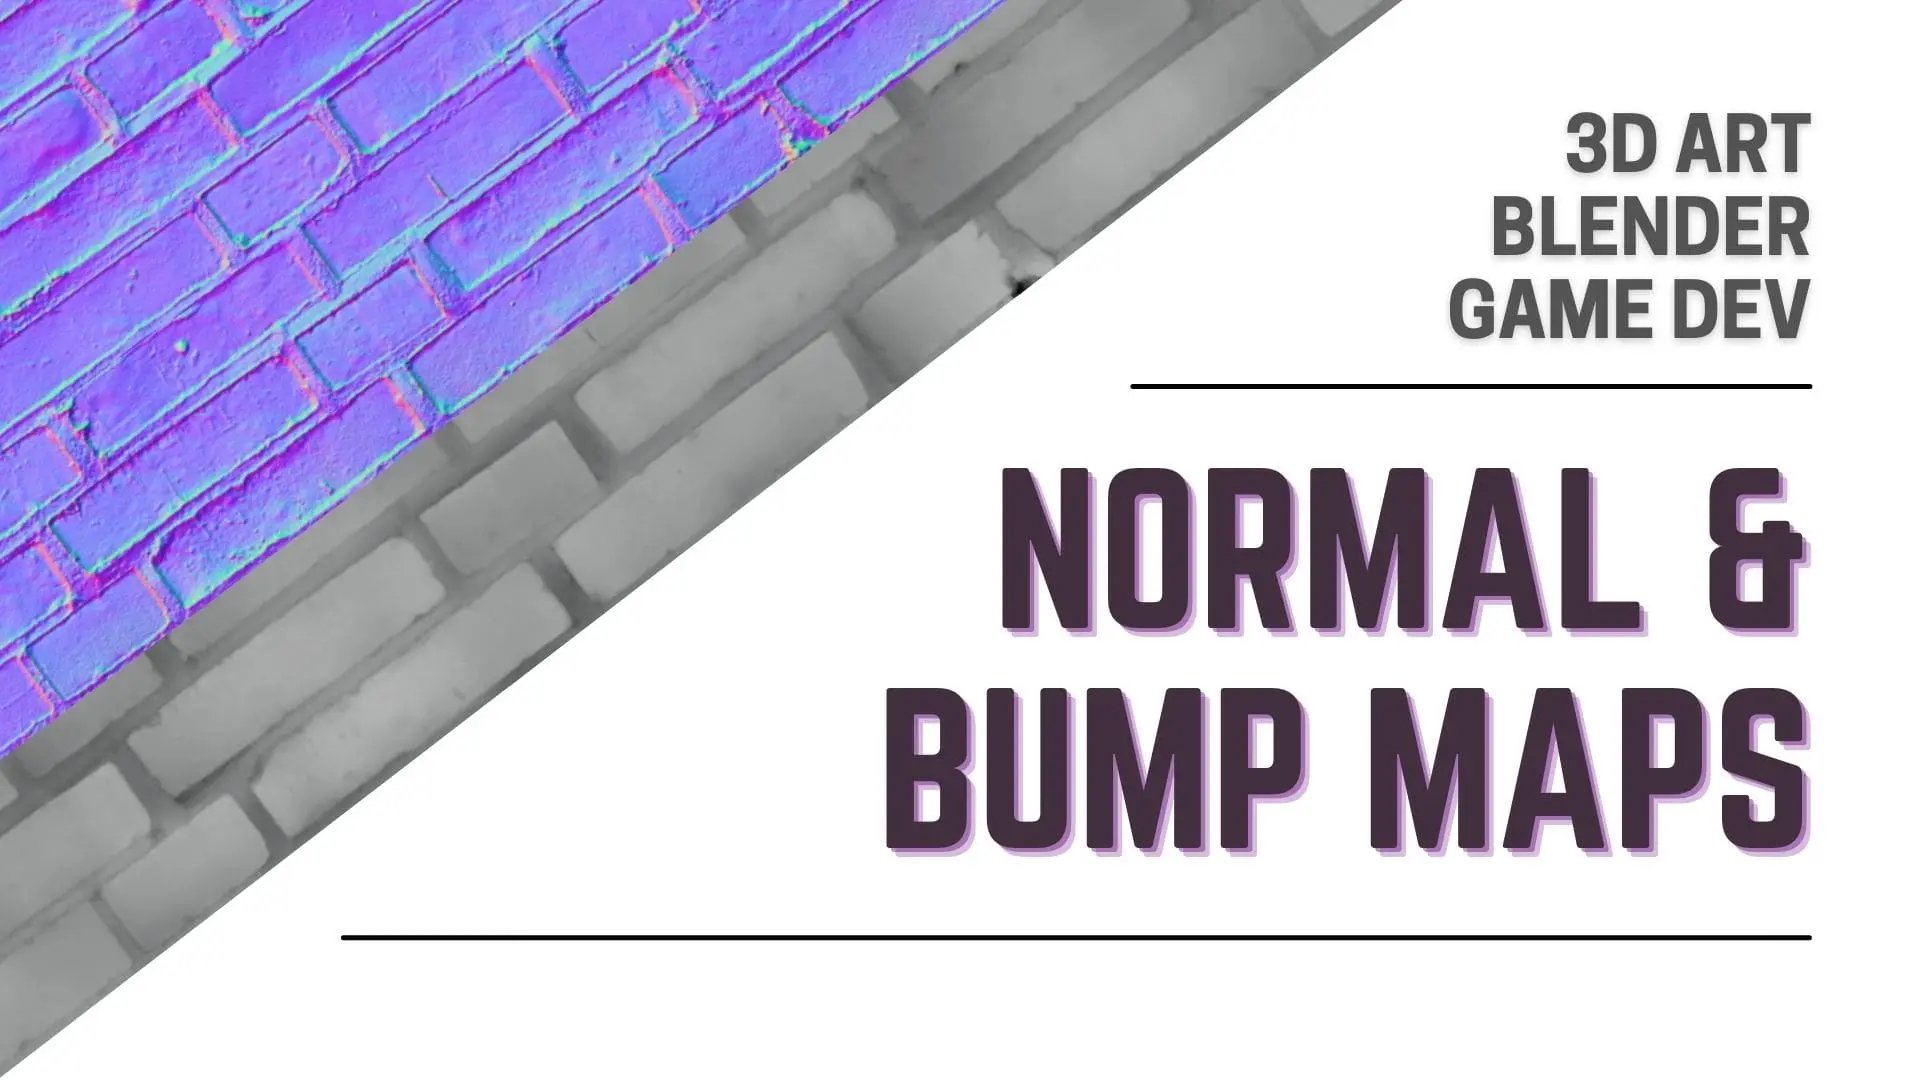
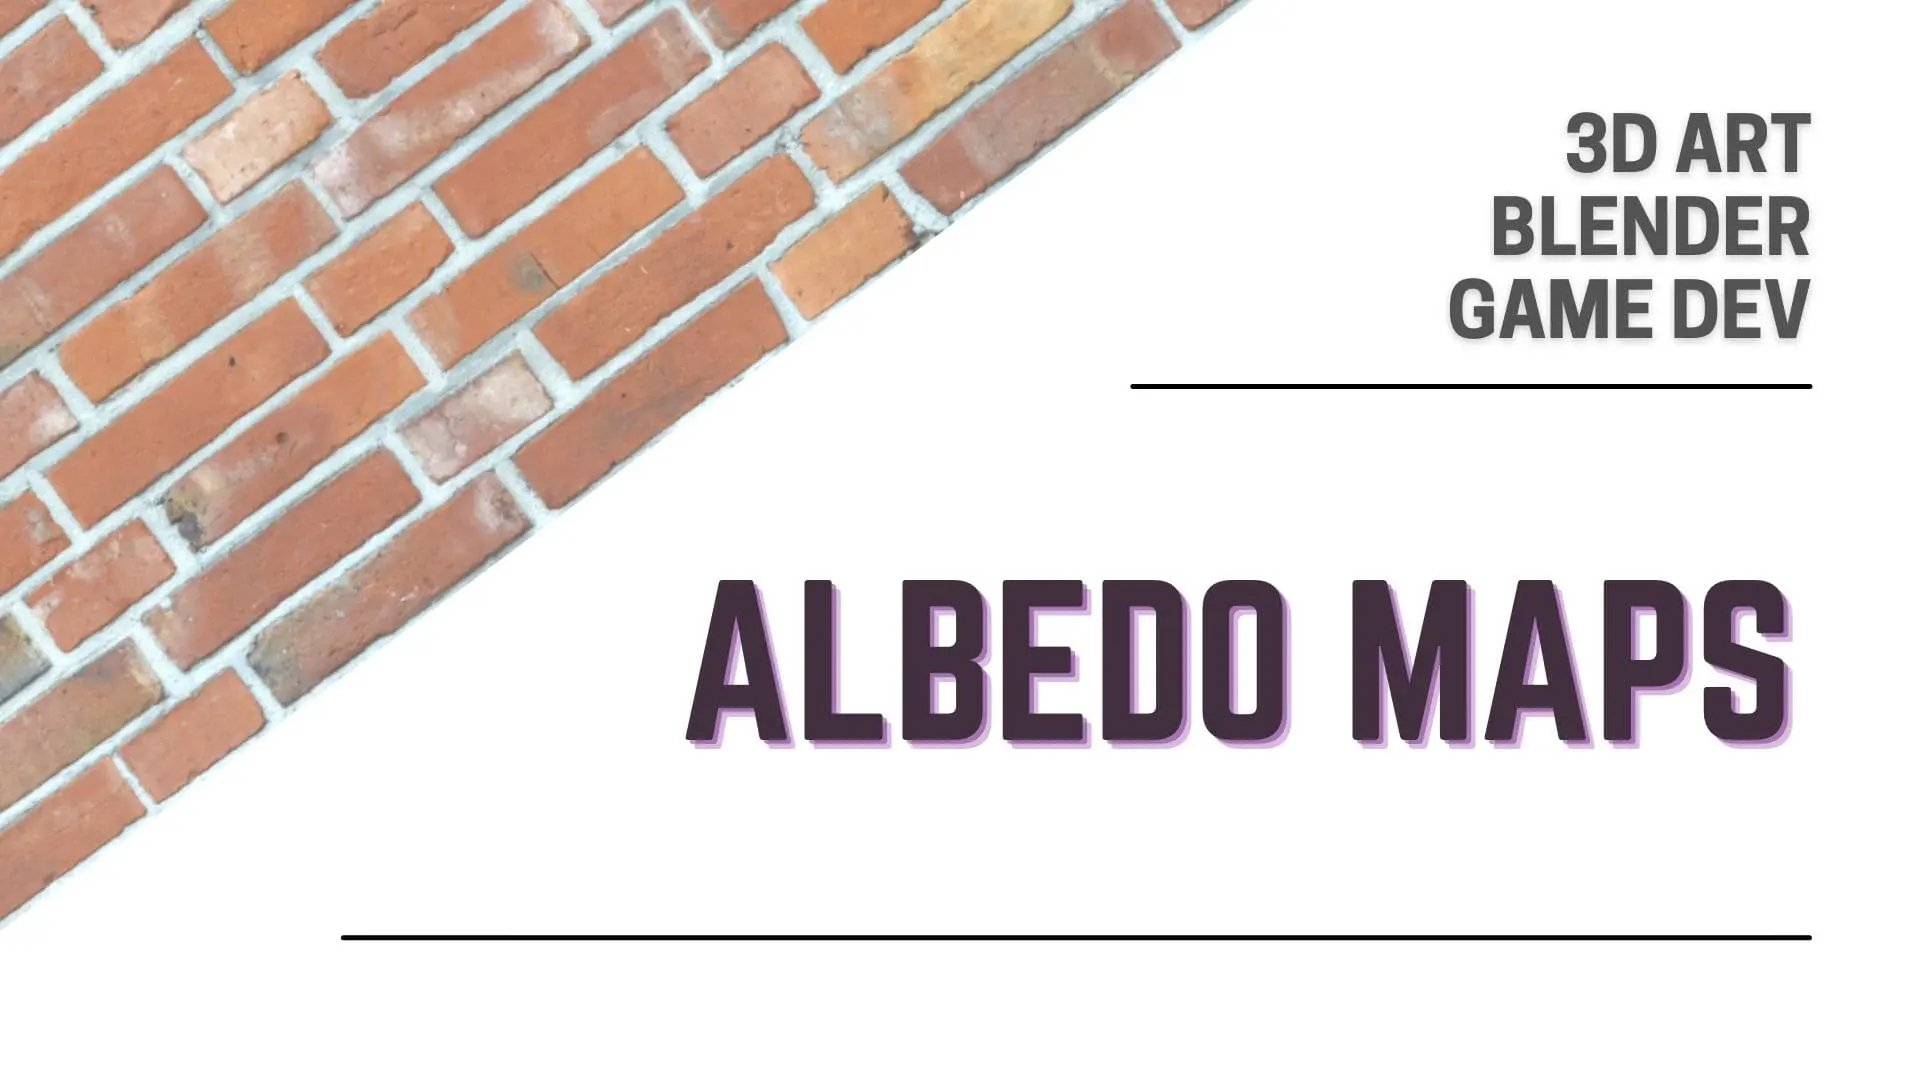
Color / Albedo Map / Diffuse Map
Specular Map / Reflectivity Map (Not Uploaded Yet)
Metalness Map (Not Uploaded Yet)
Gloss Map / Roughness Map (Not Uploaded Yet)
Displacement Map / Height Map (Not Uploaded Yet)
Ambient Occlusion i.e AO Map (Not Uploaded Yet)
Channel Mask Map (Not Uploaded Yet)
Articles In Blender Tutorials Series
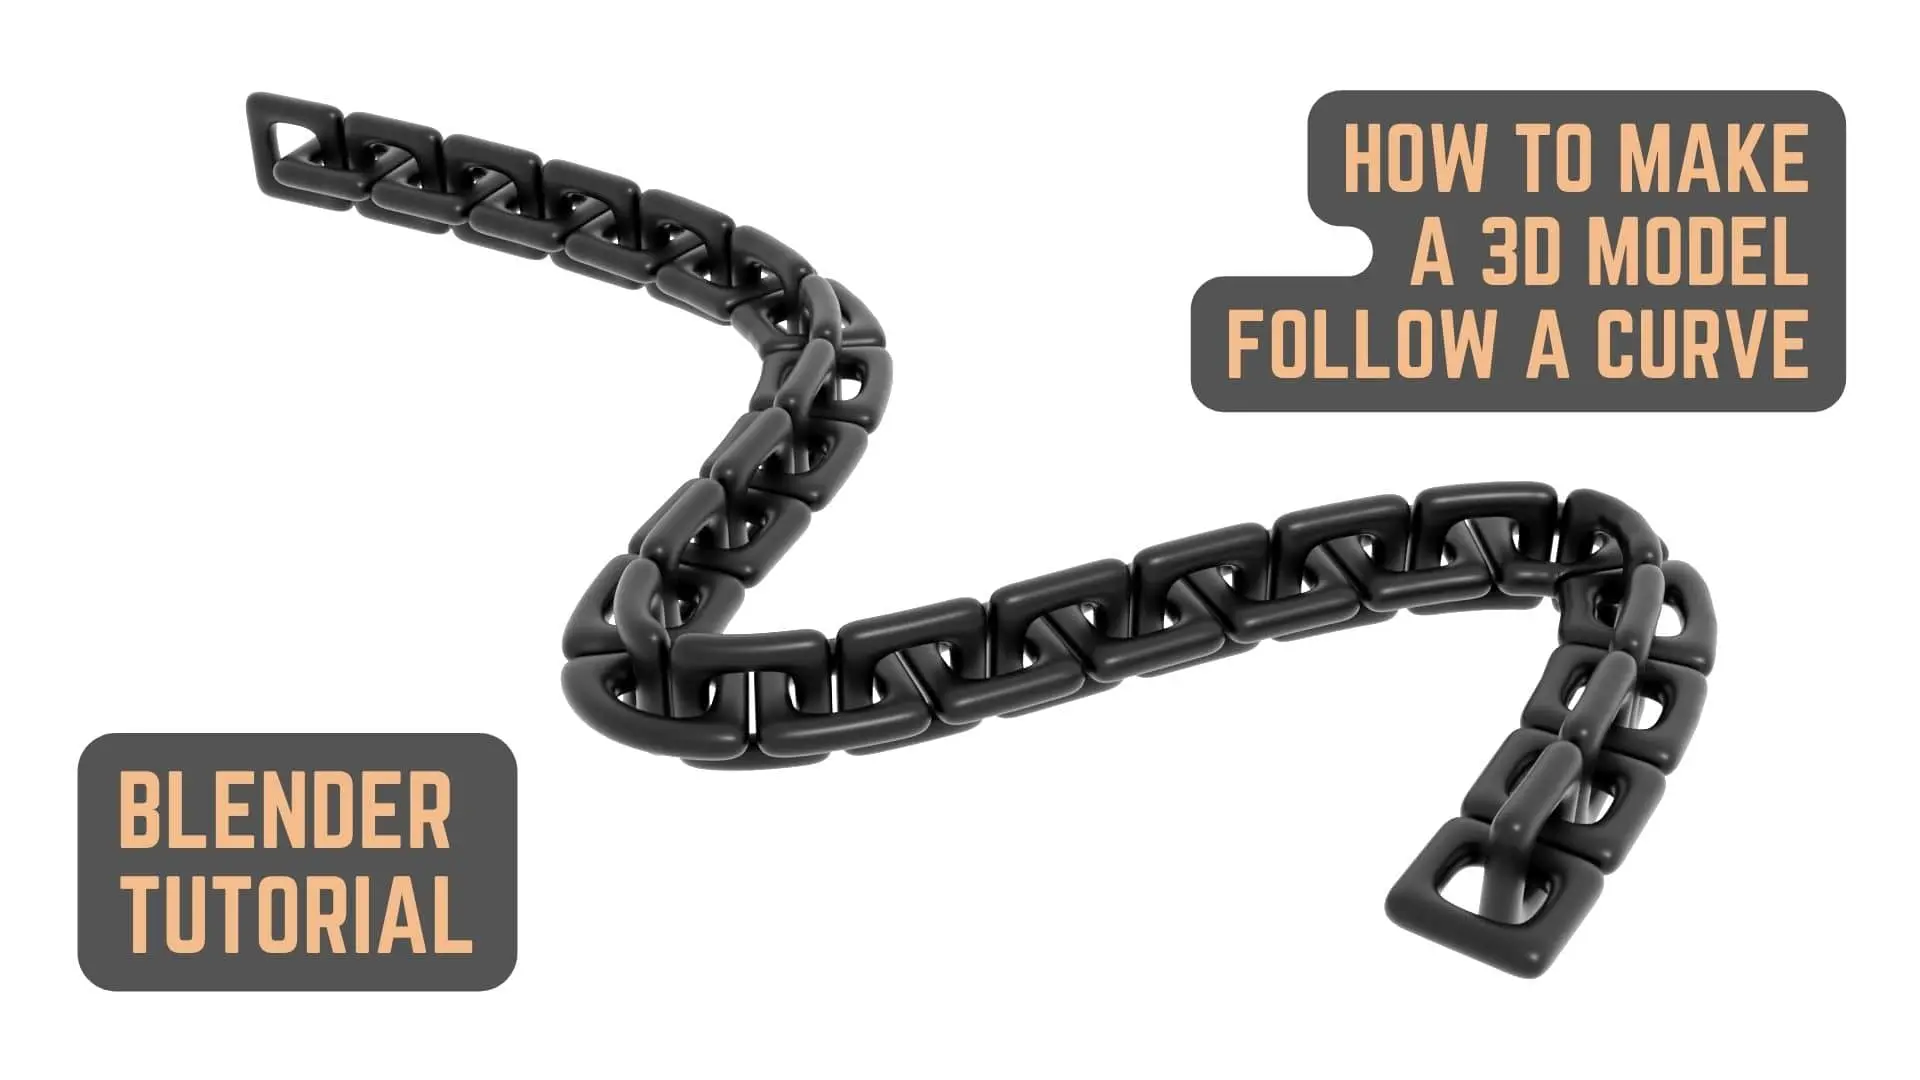
How To Make a 3D Model Or an Array of 3D Model Follow A Curve